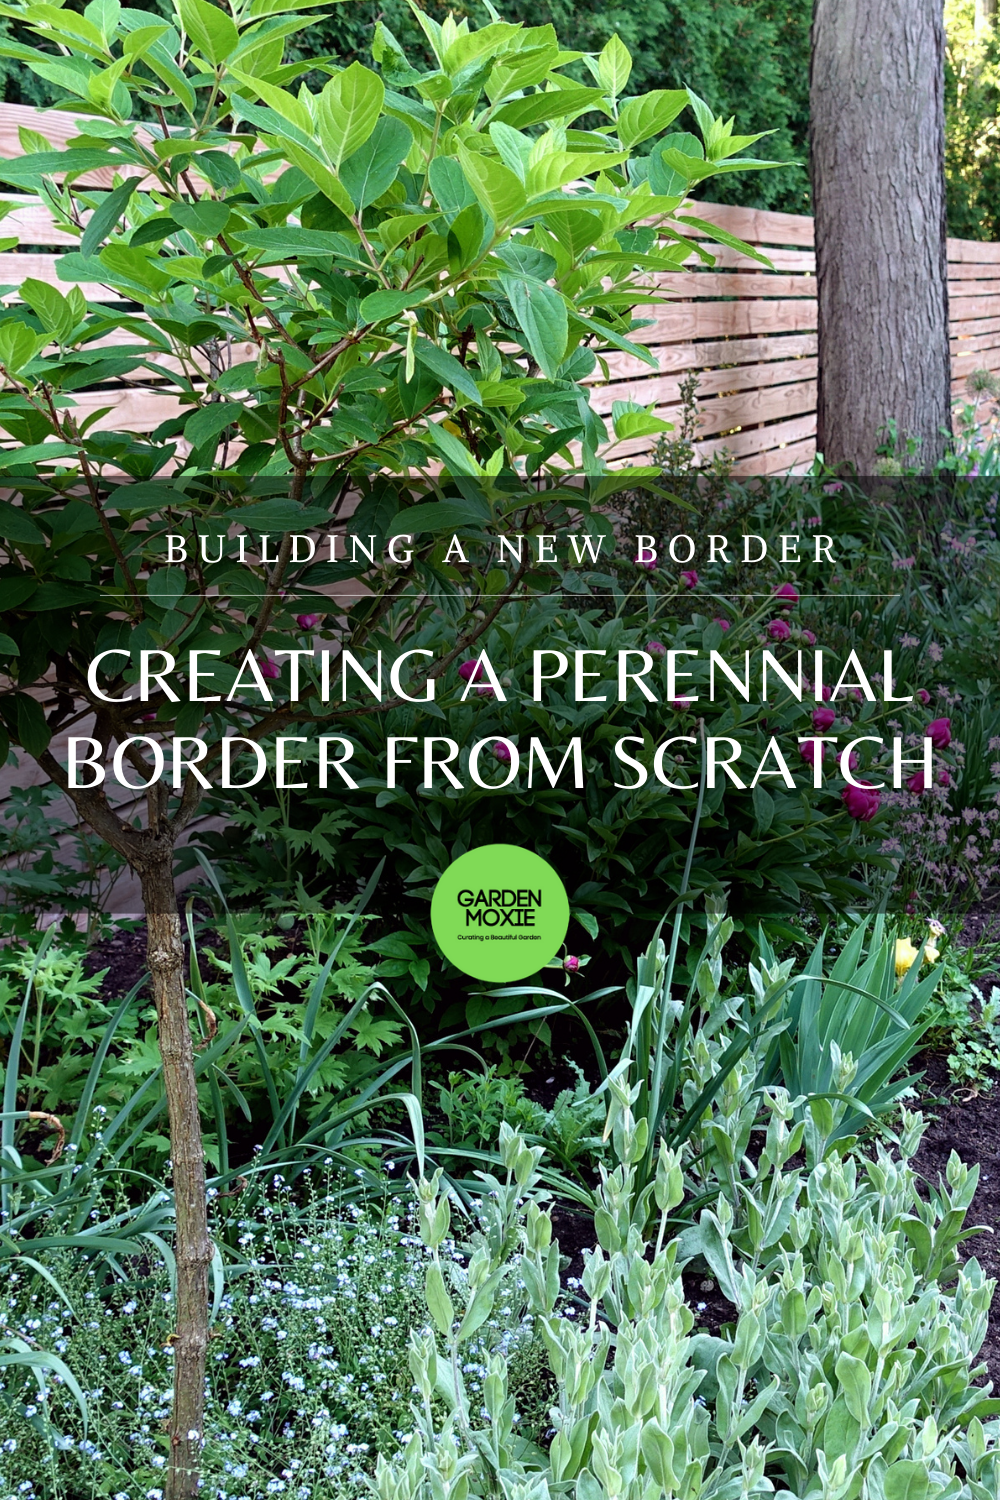
How To Create a Perennial Border from Scratch
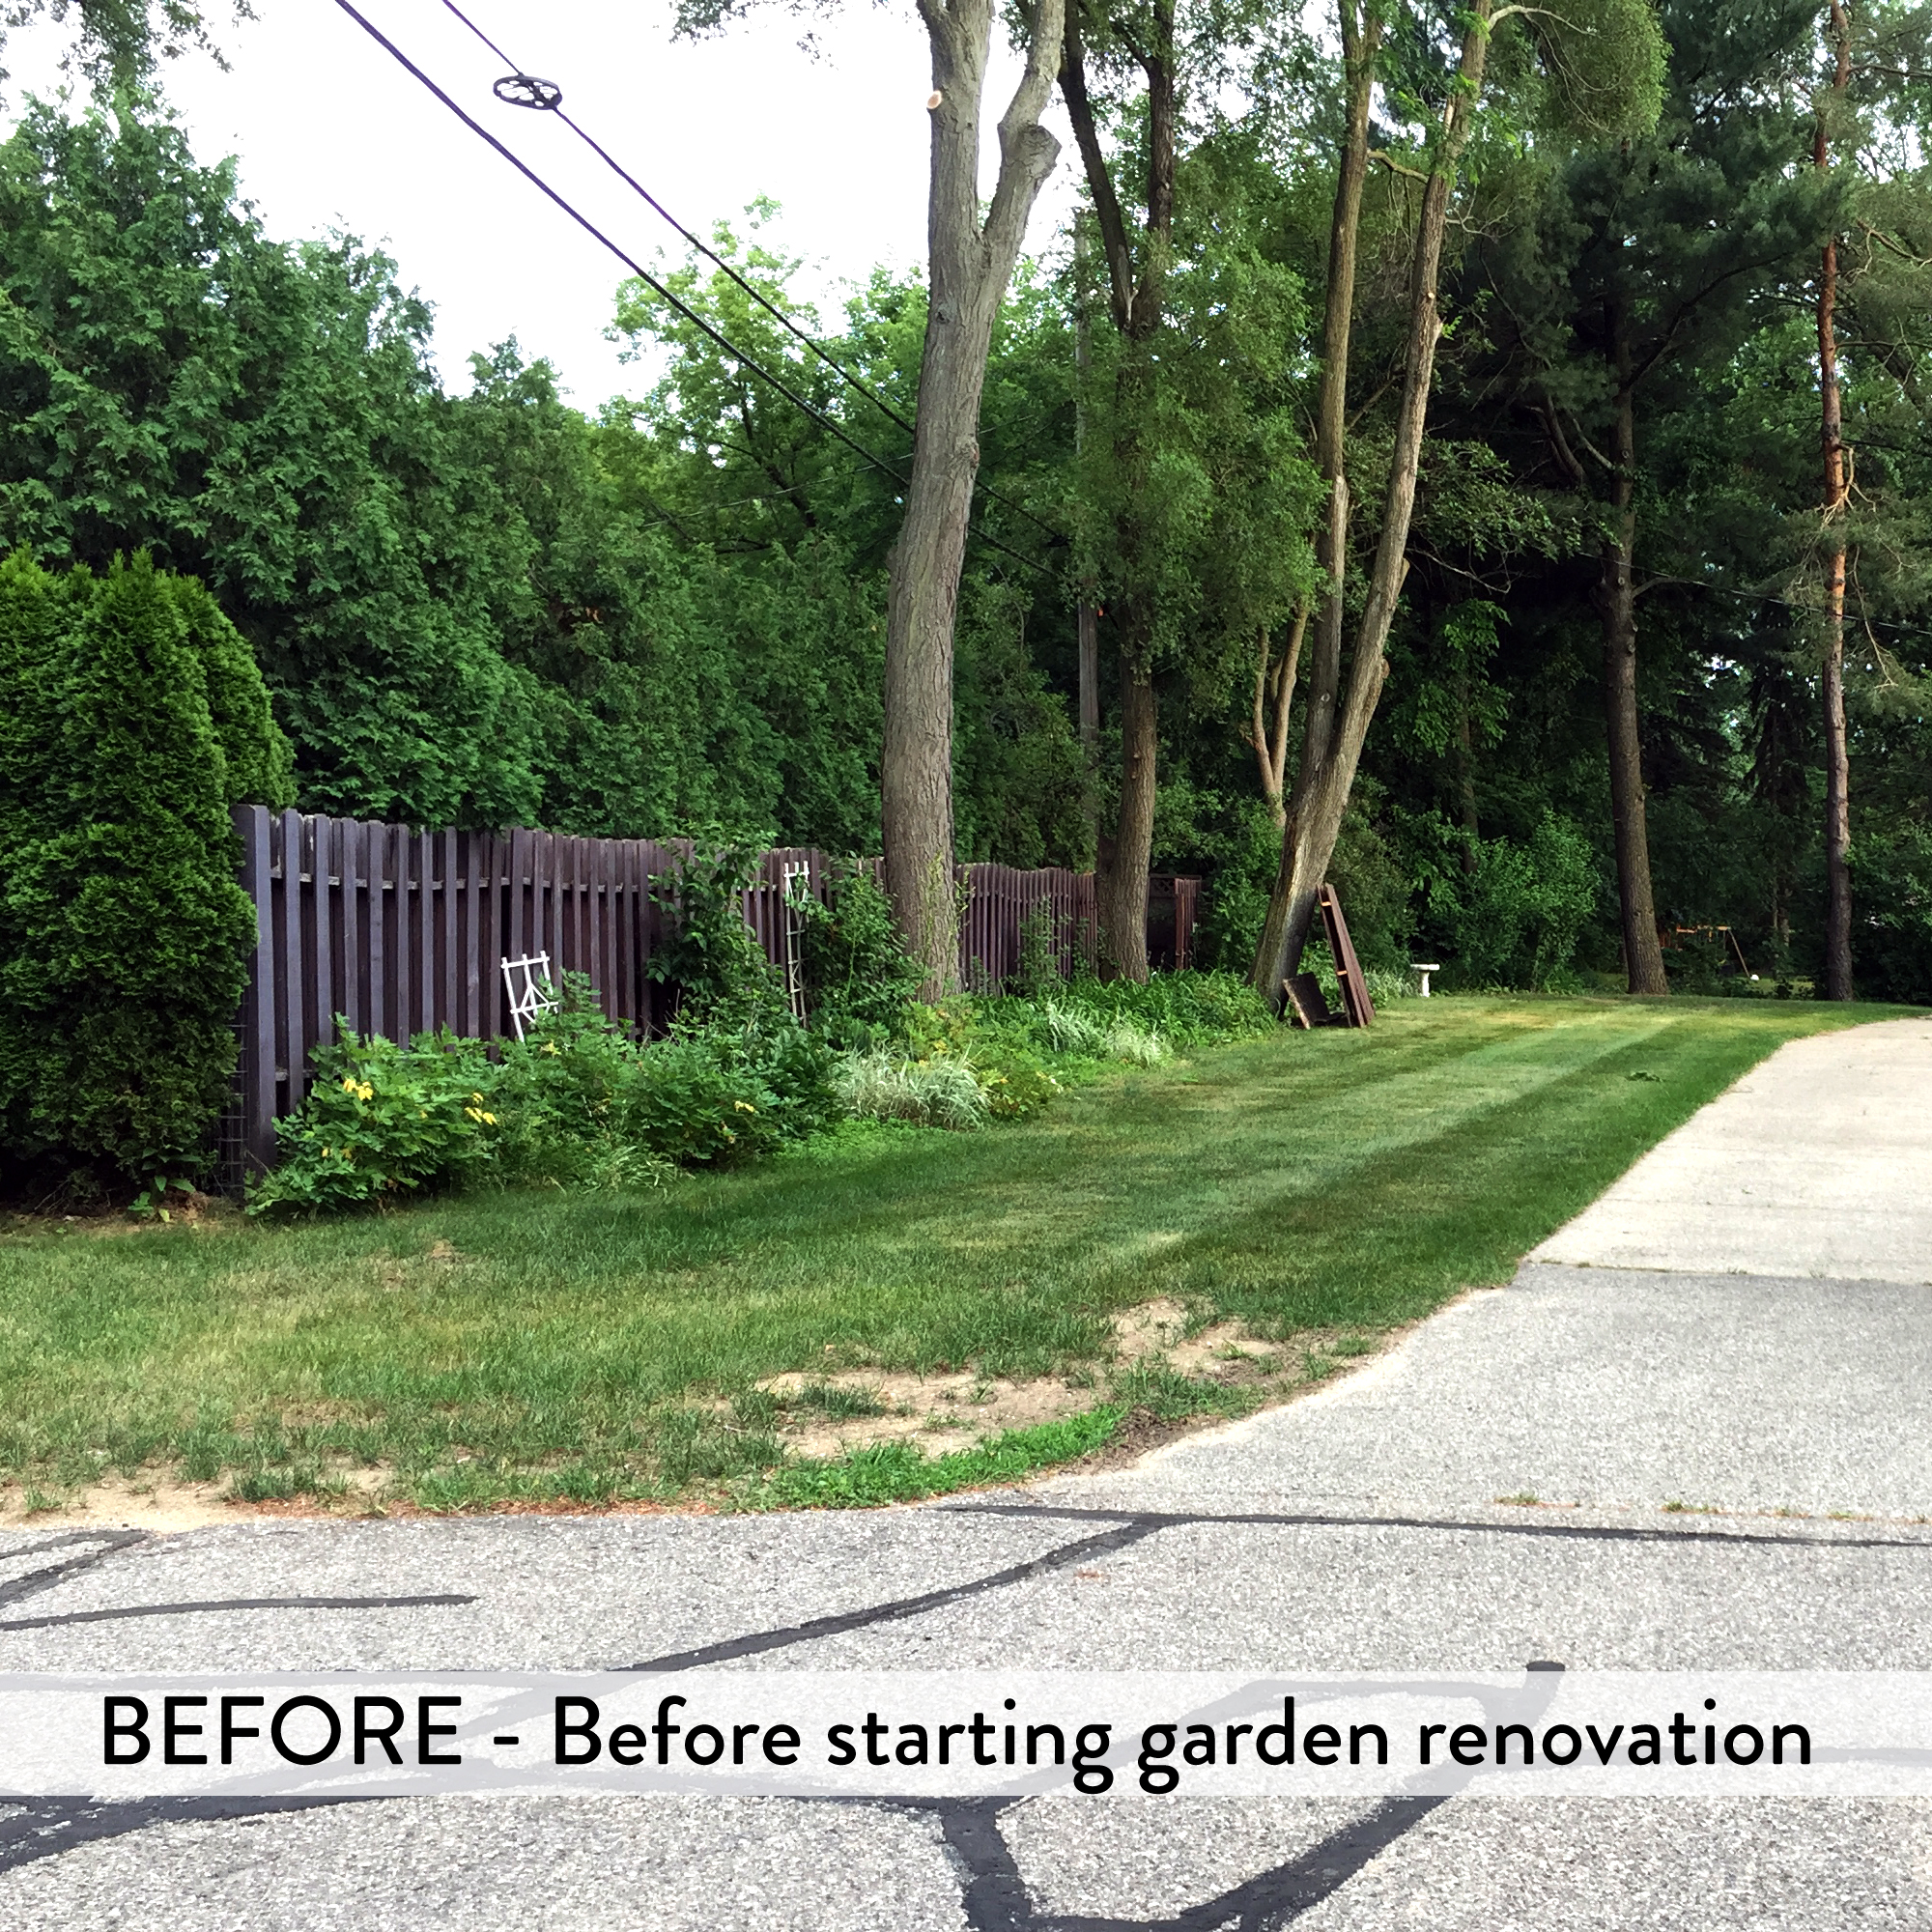
My Mother-in-law bought the house directly behind ours. It’s a cute Ranch-style home that sits on a corner lot. The house is in great shape, but the garden needs a little TLC. We started renovating the garden in July 2018.
There were a few must-haves for the new garden design:
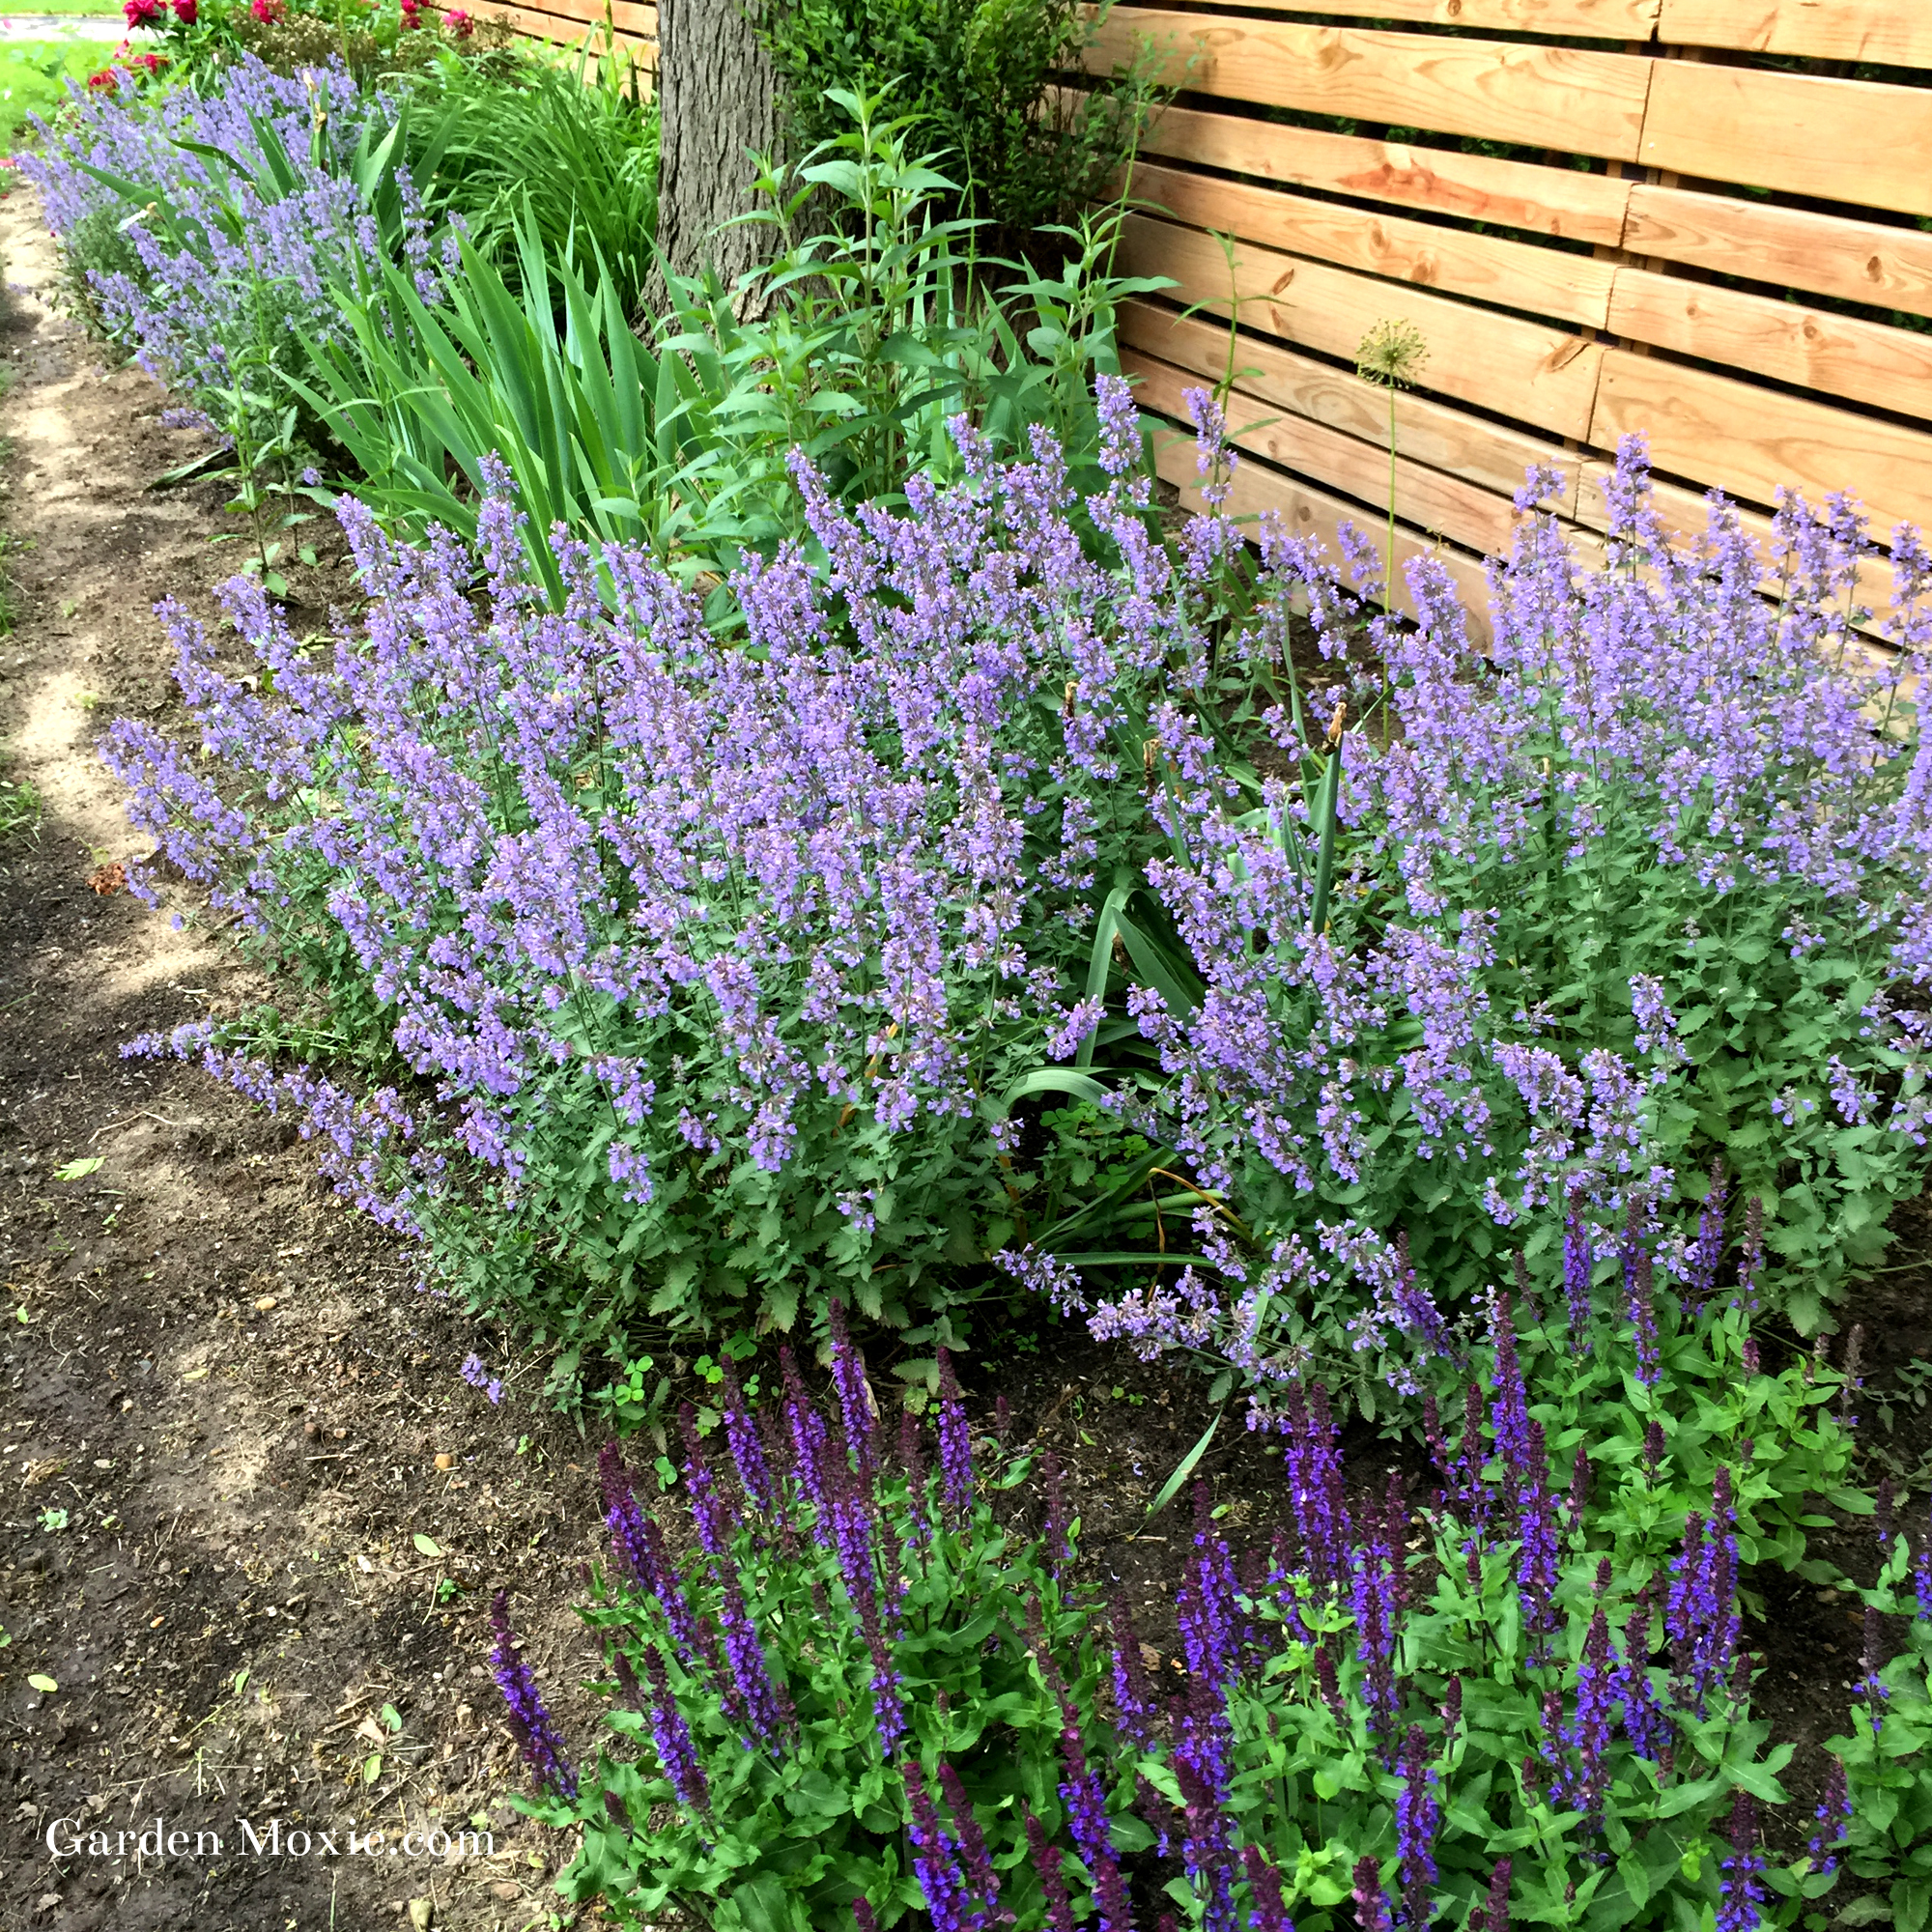
- Plant deer resistance plants.
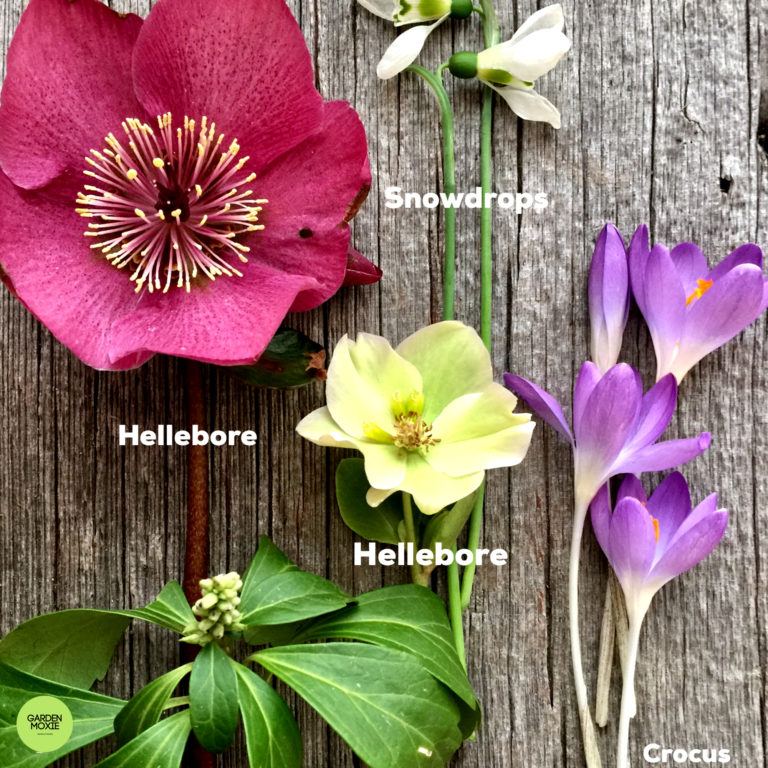
- Flowers and foliage to cut for floral arrangements.
- Plants to attract butterflies, bees, and birds.
- New, low-maintenance fence.
Where To Start?
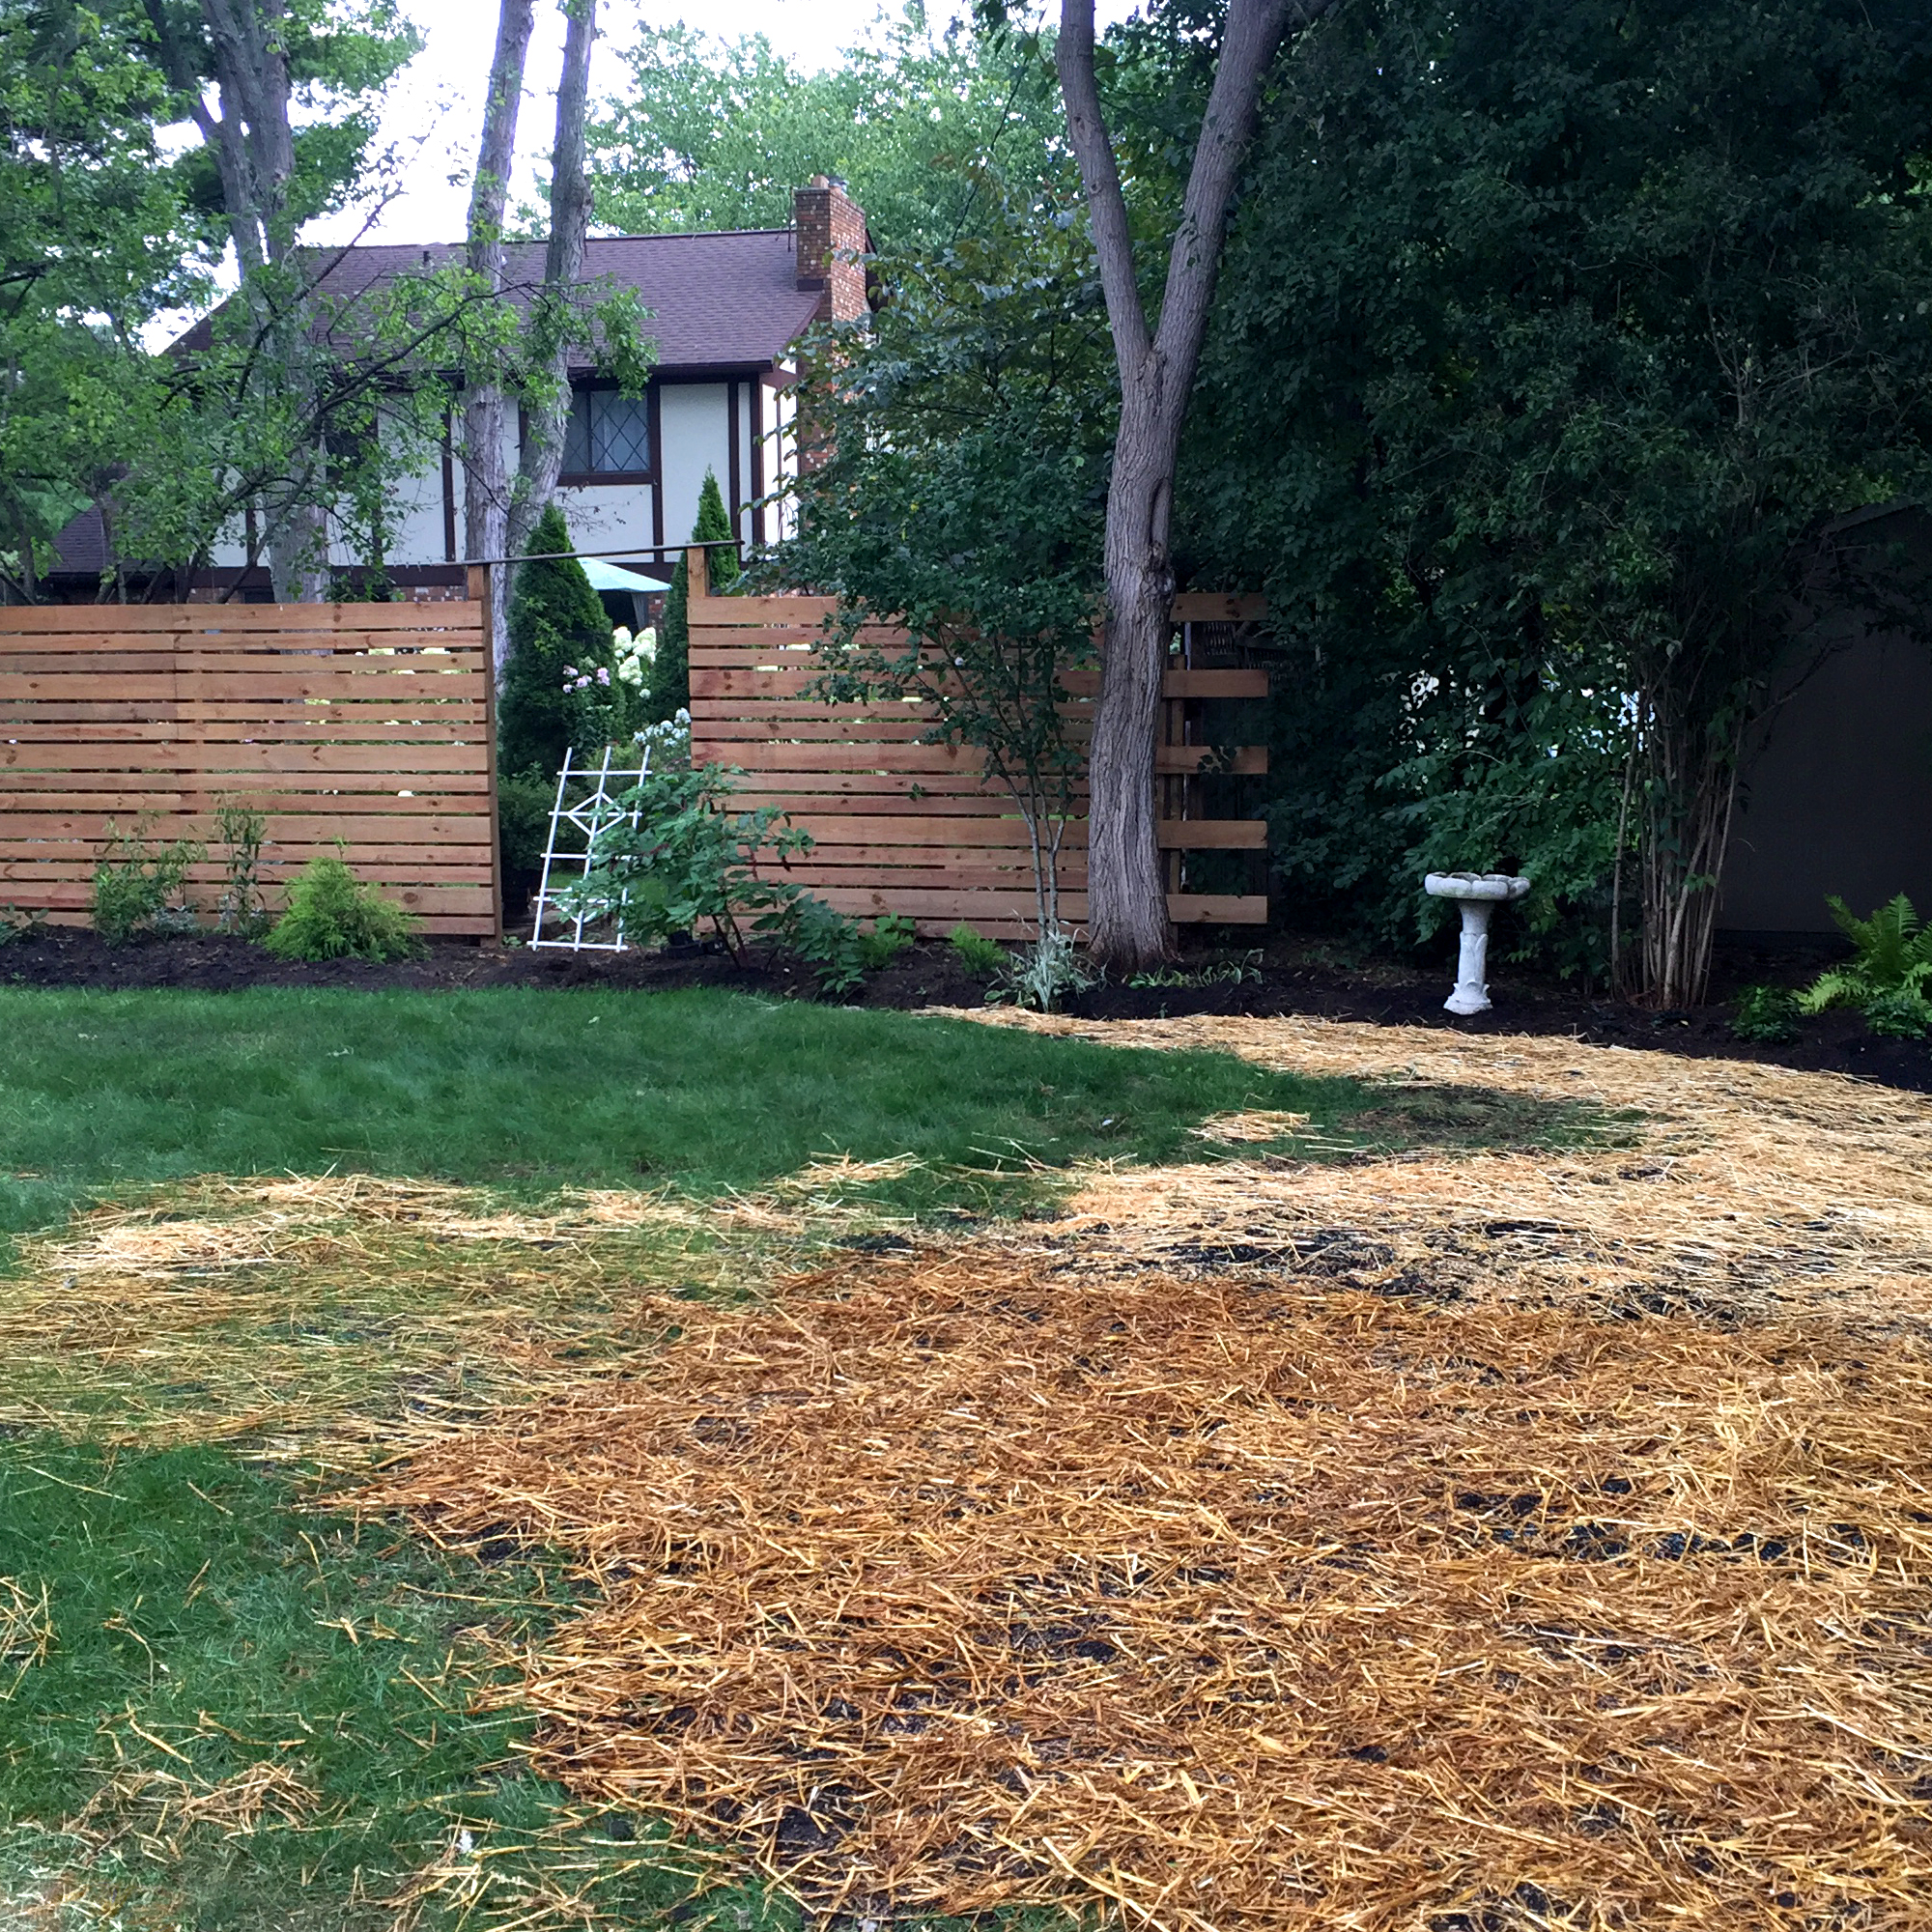
This photograph shows my Mother-in-law’s garden when she moved in.
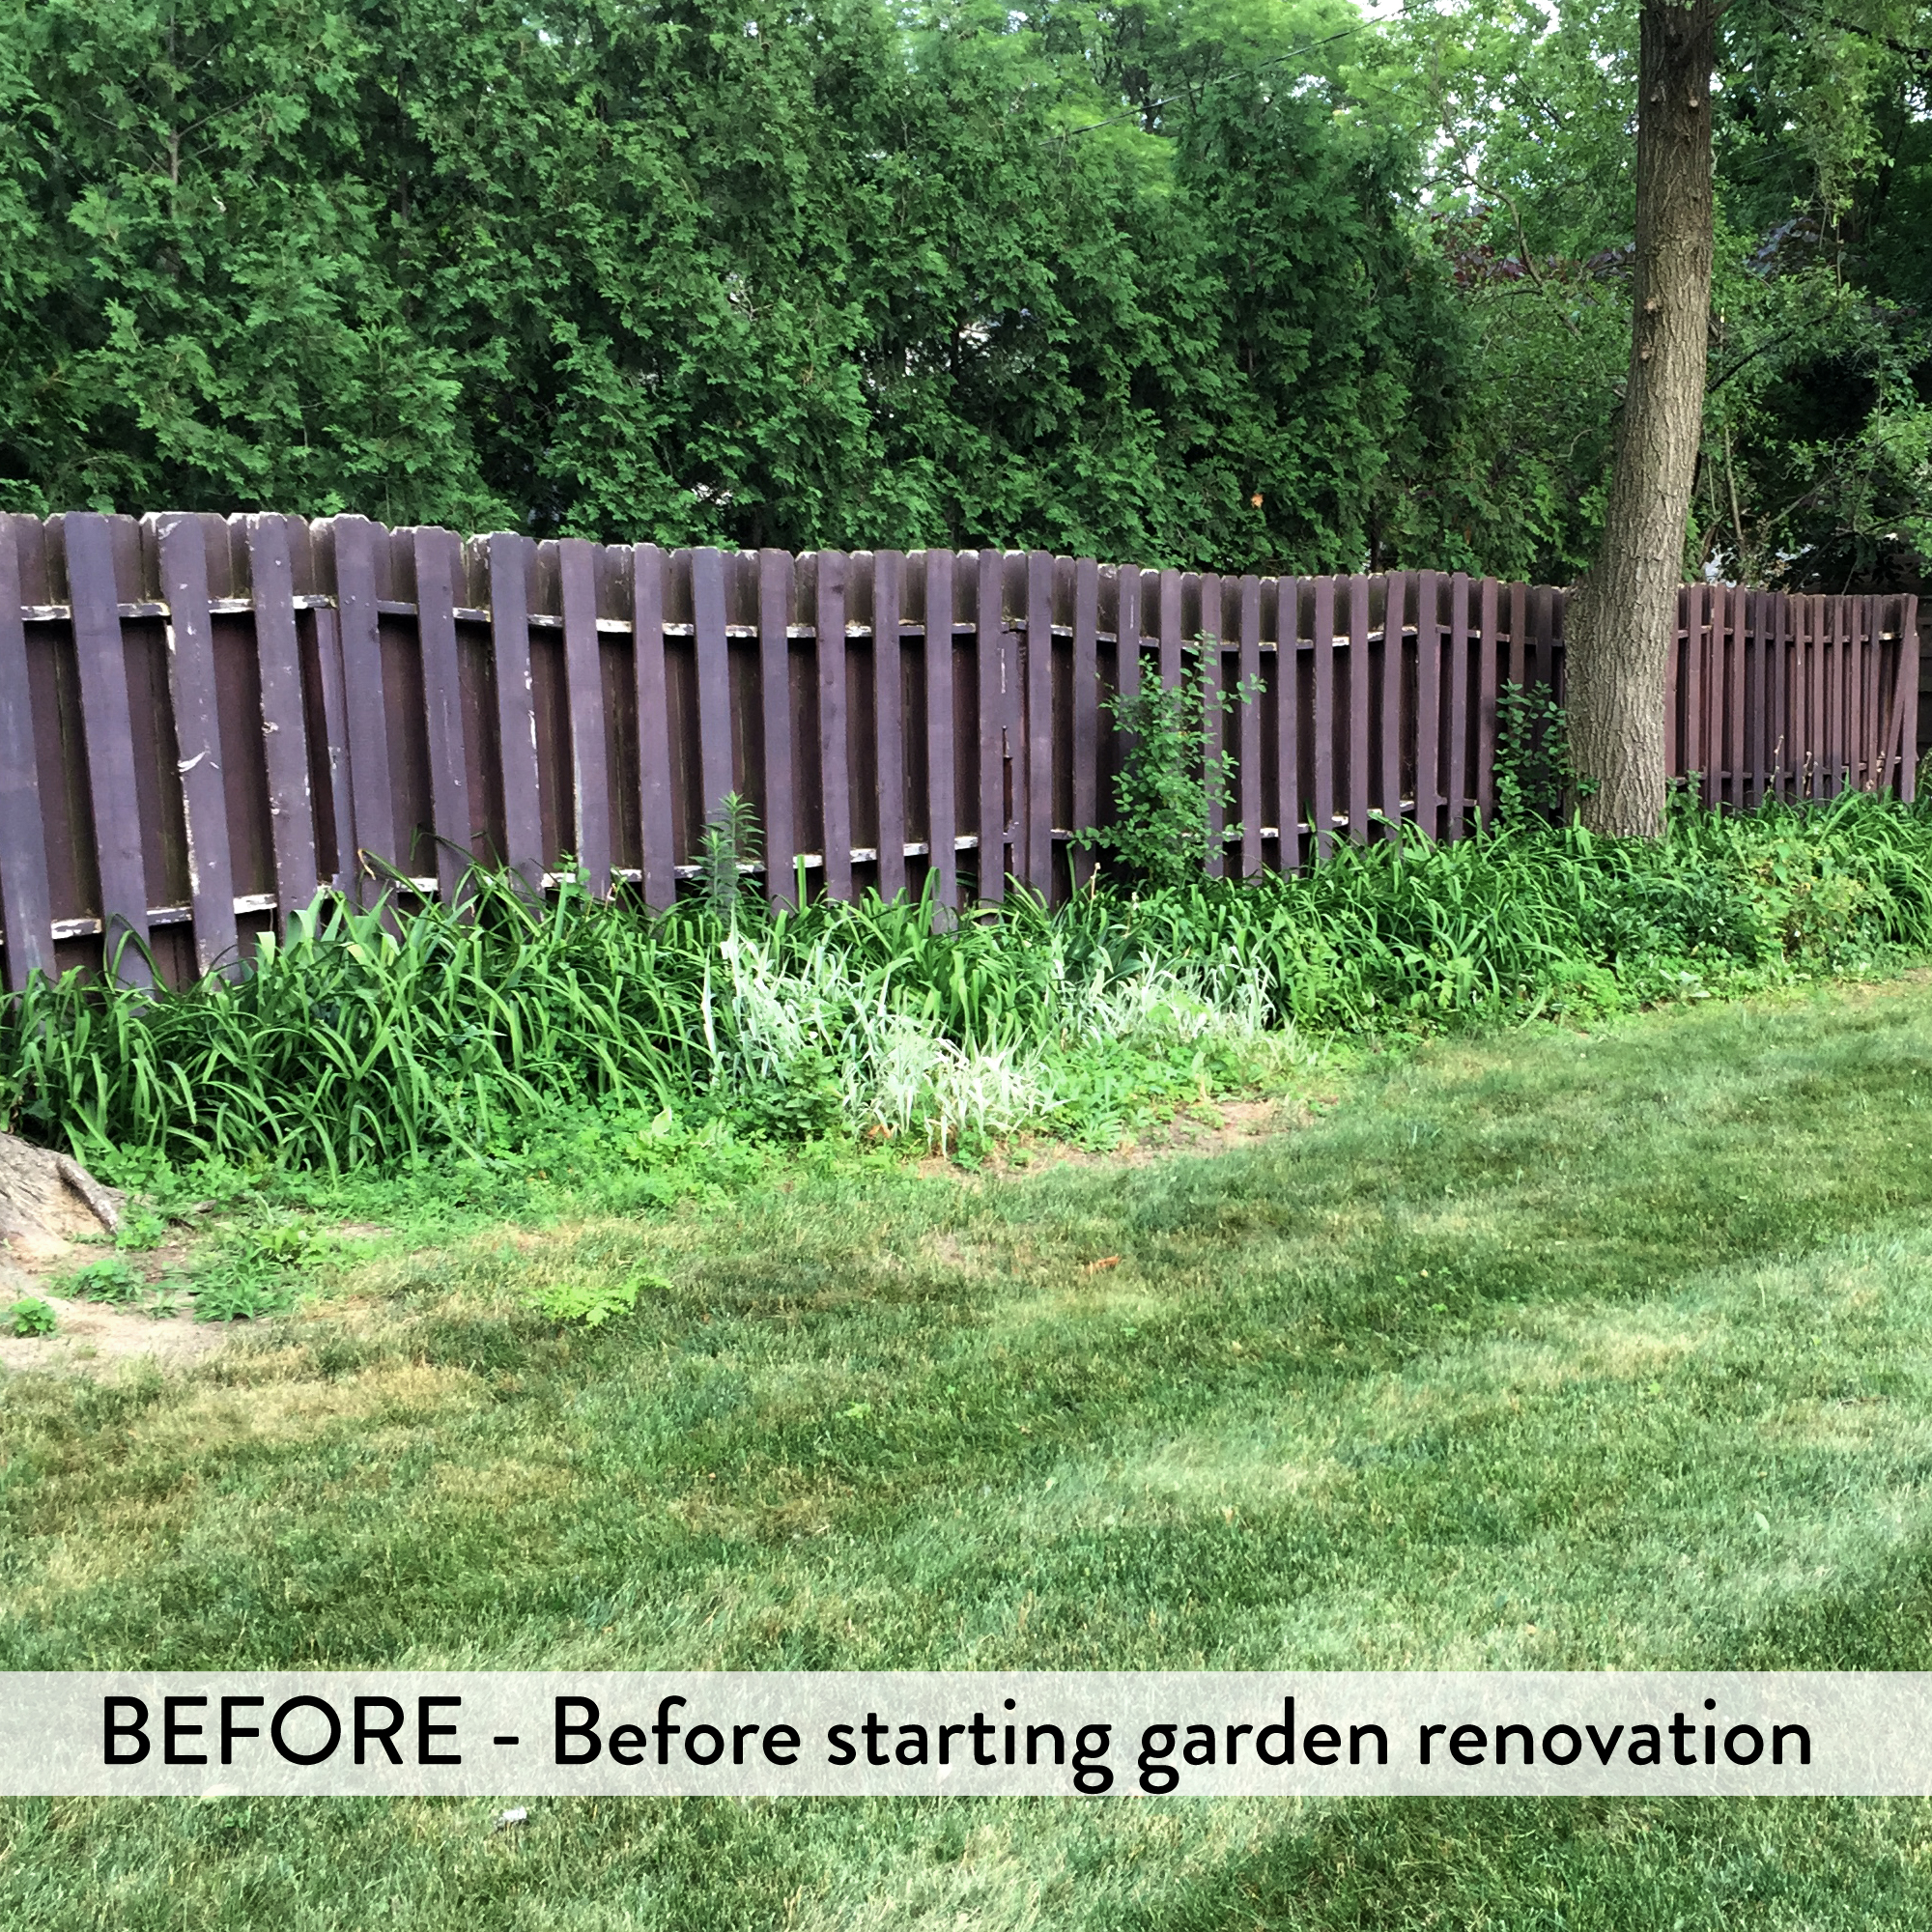
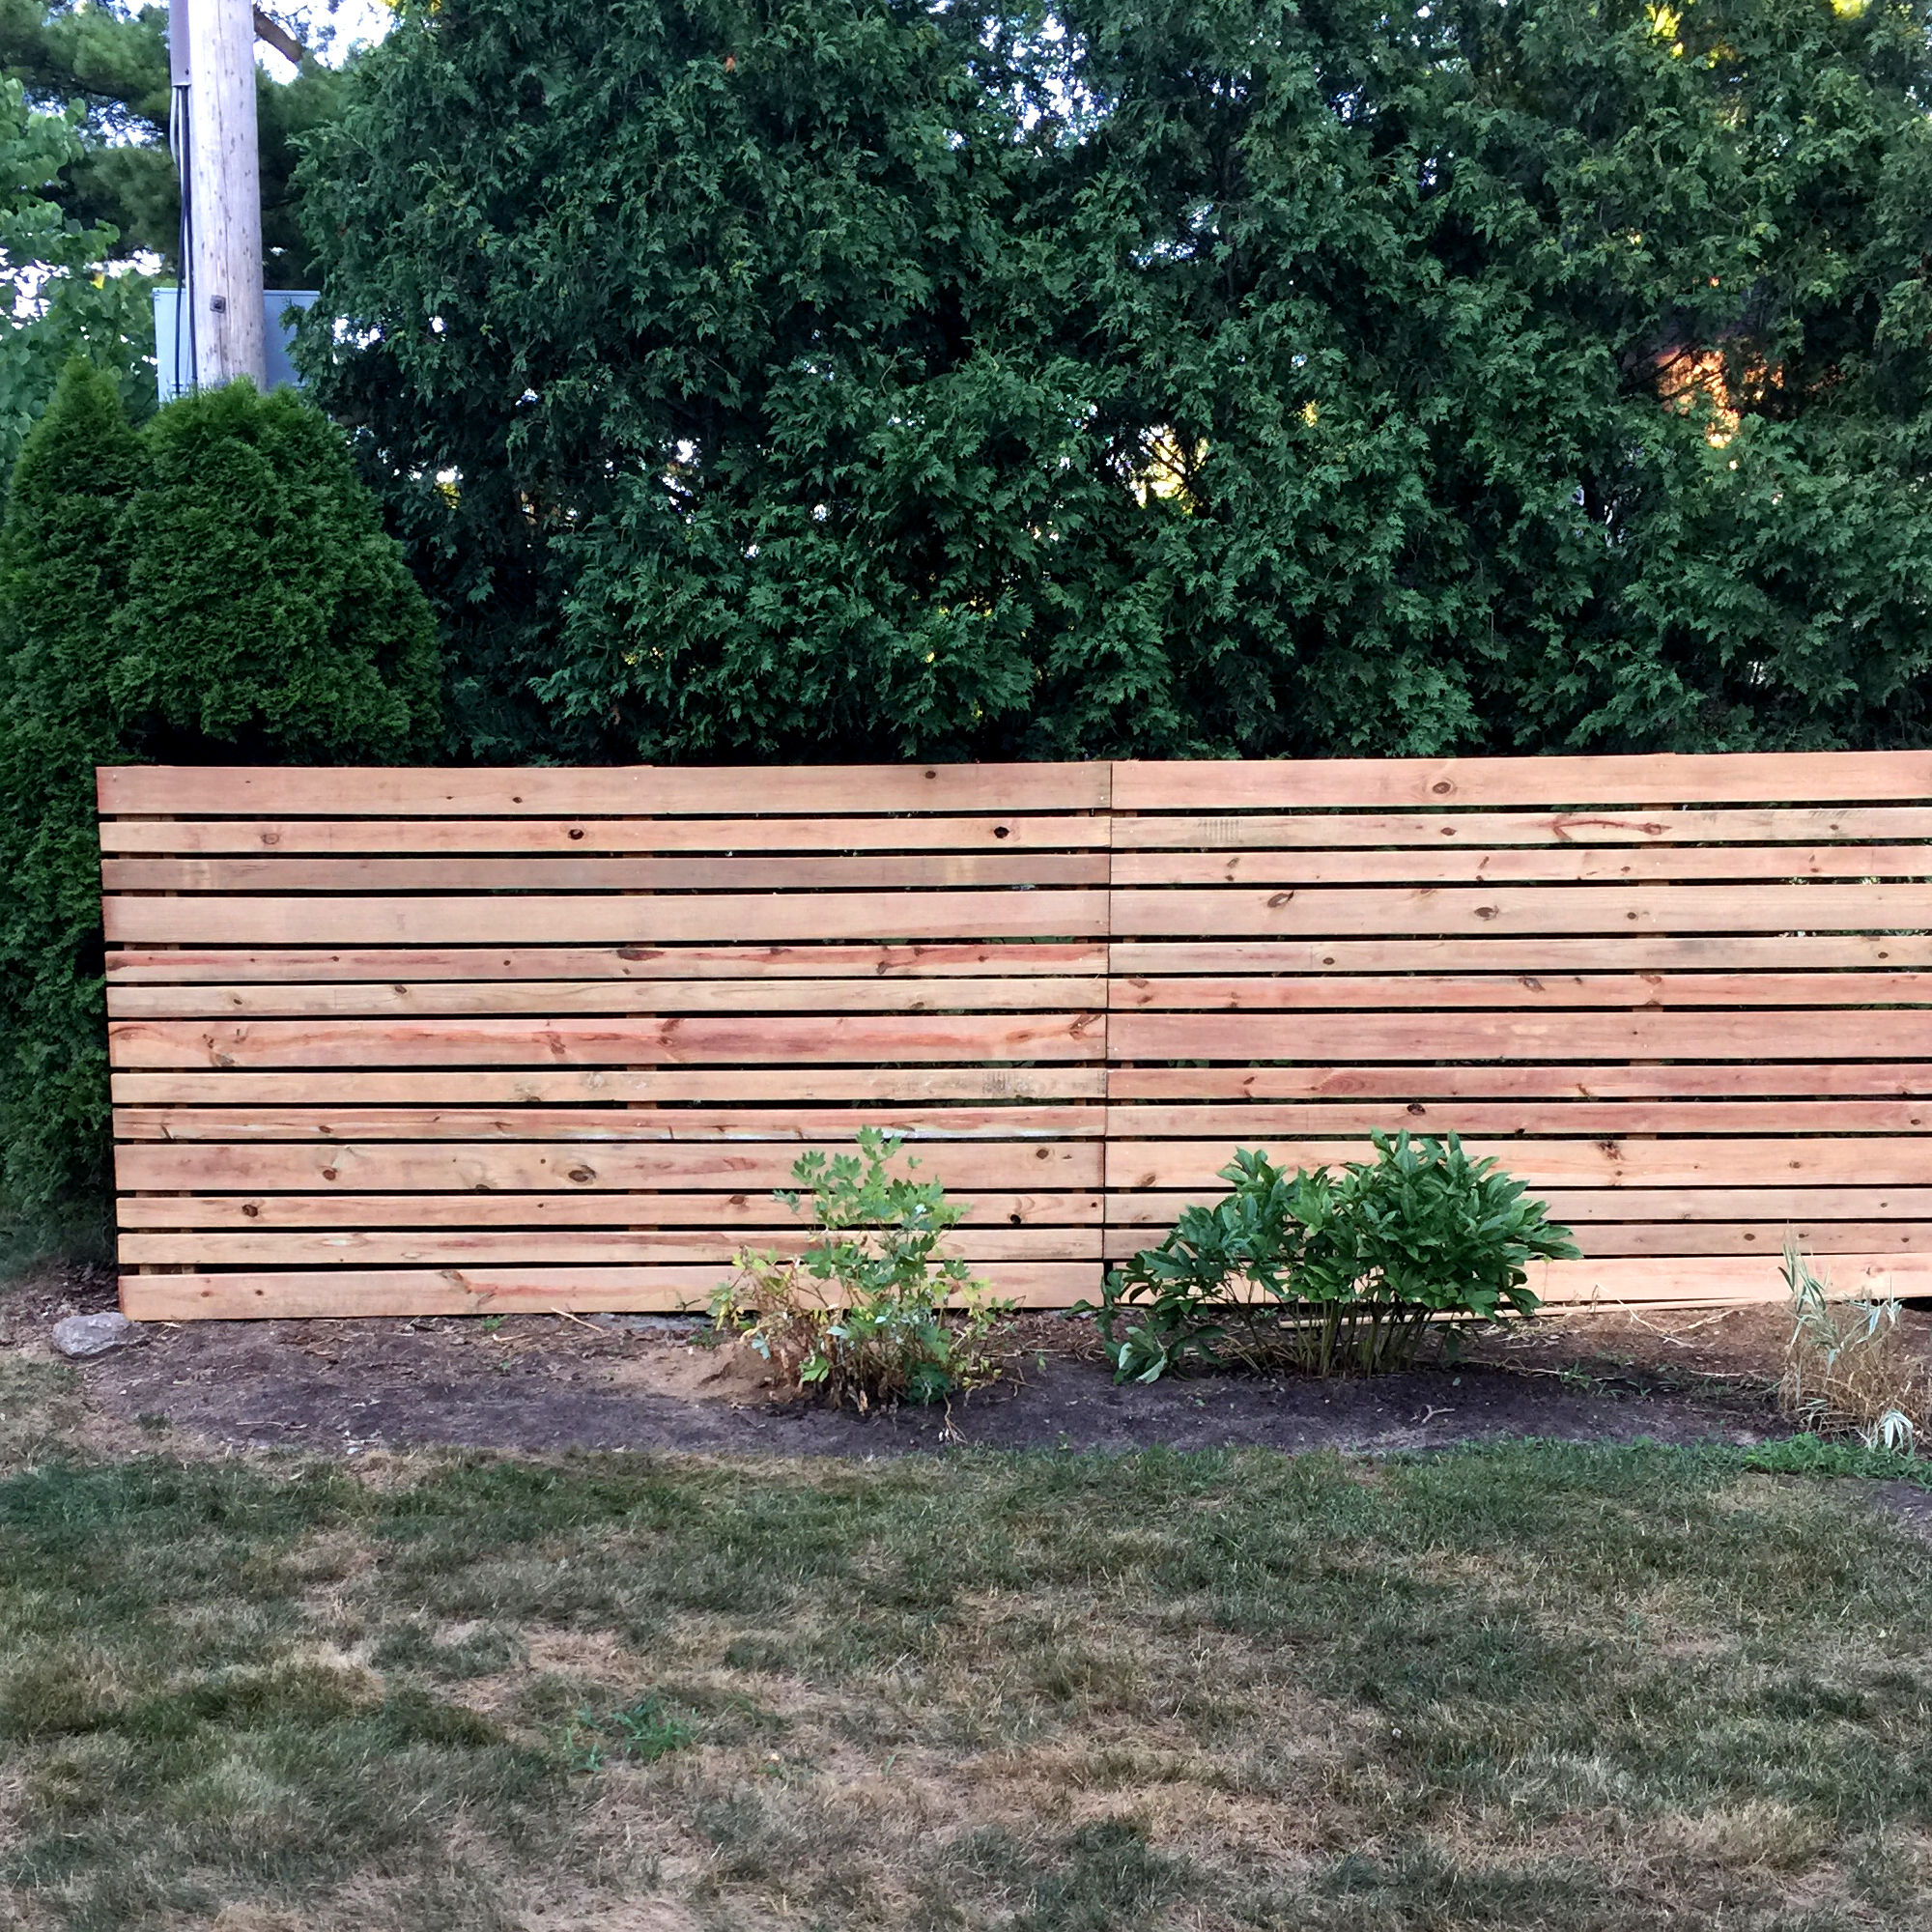
The First Job was to Replace the Fence
The first course of action was replacing the old fence. We opted for a horizontal design made from standard 2x4s and 2x6s. The benefit of a horizontally designed fence is that it’s easy to replace the bottom board resting along the soil line. The soil line is where a fence rots first. With a horizontal design, you replace the bottom 2×4 rather than the entire section. Easy peasy and super practical.
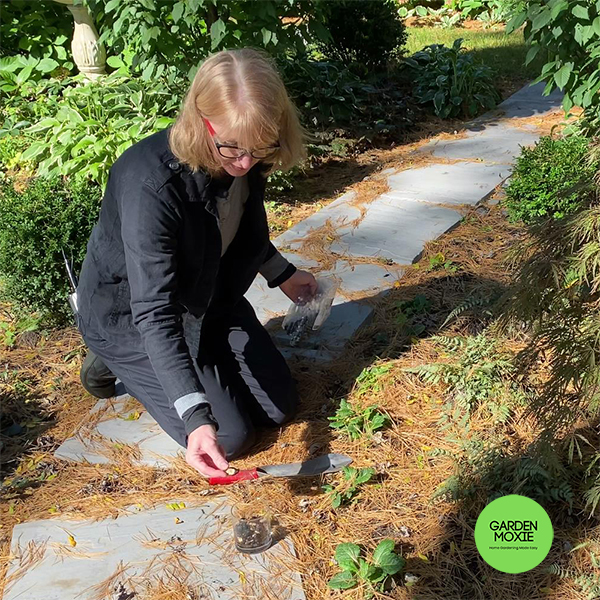
The Second Step was to Prep the Soil and Dig Out the Border
After the new fence was built, we tackled the garden. The most important thing a garden needs is healthy soil. I ordered a soil testing kit from Michigan State University. I took soil samples all along the length of the border and mailed them to the Soil Lab. The results were available in a couple of weeks. The test results told us to add nitrogen and lime and to maintain the organic material level.
So, I ordered compost. Lots of compost. 8 yards of compost to be exact.
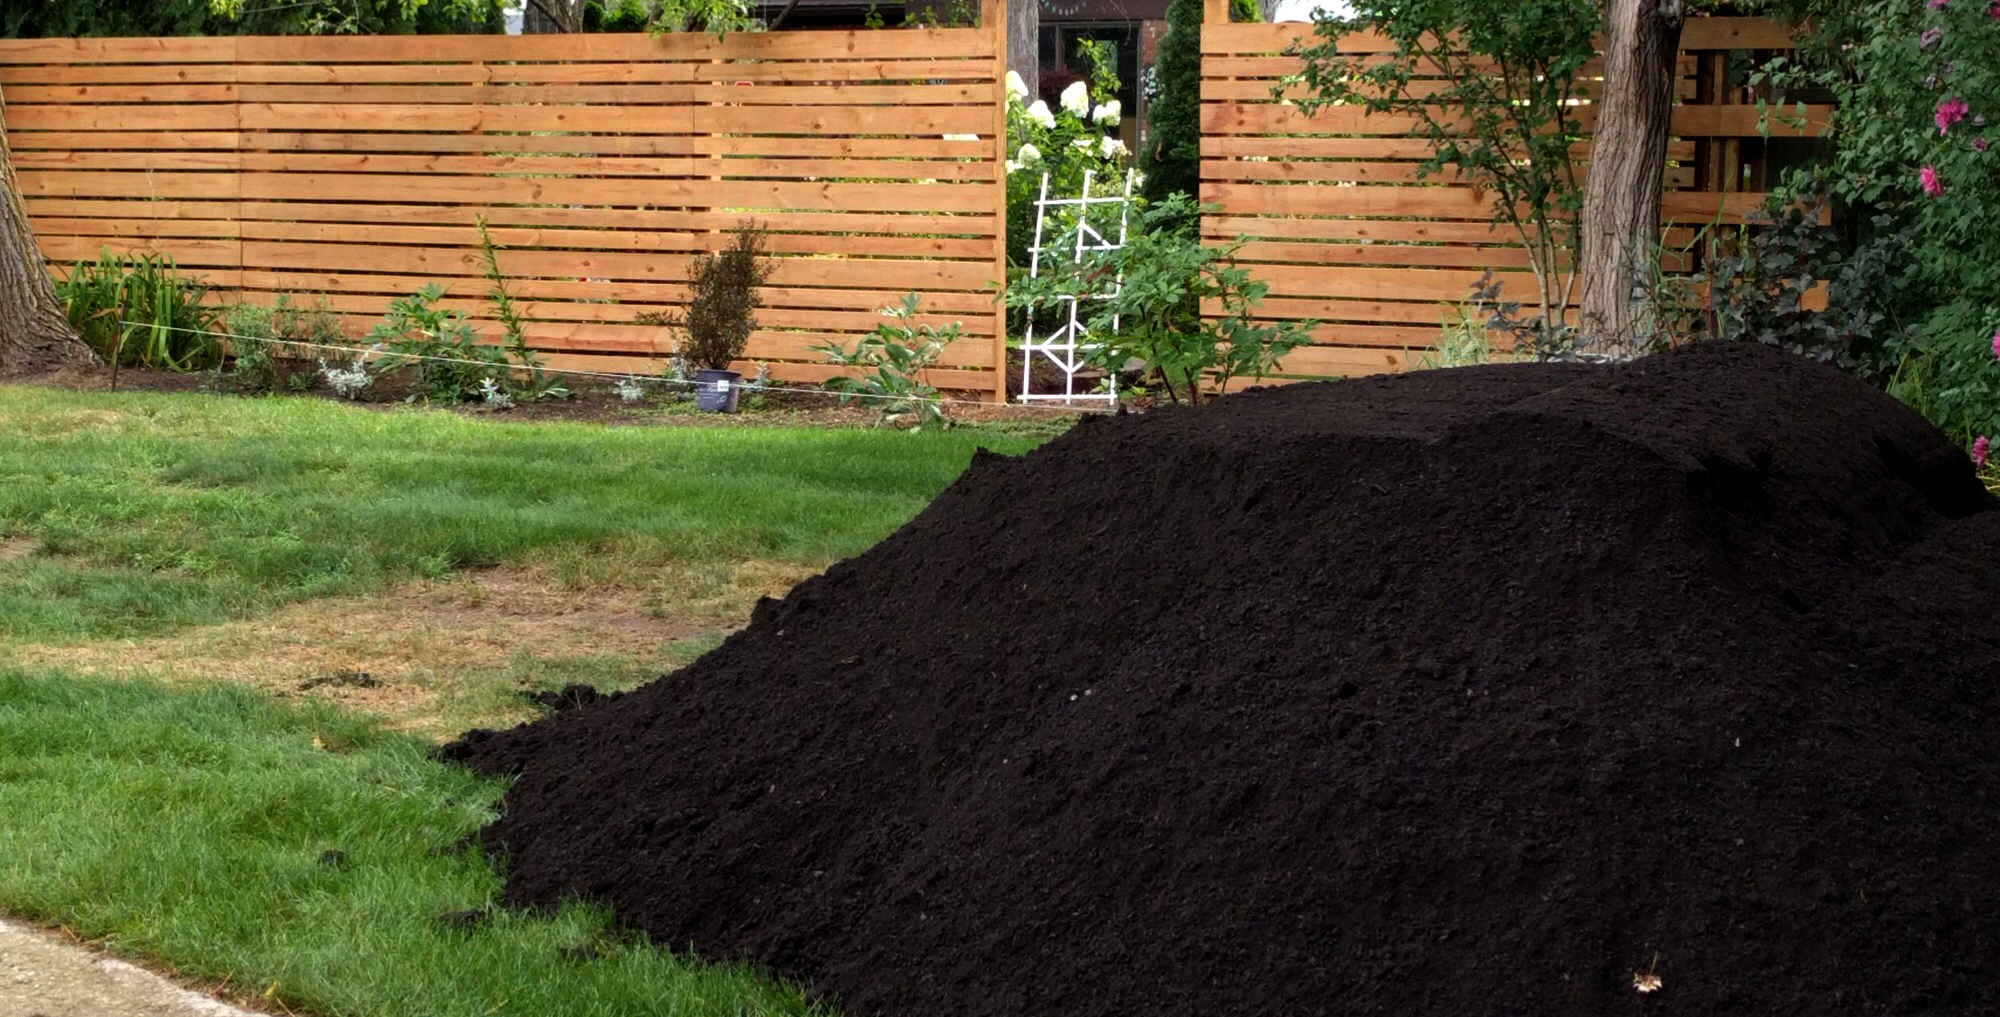
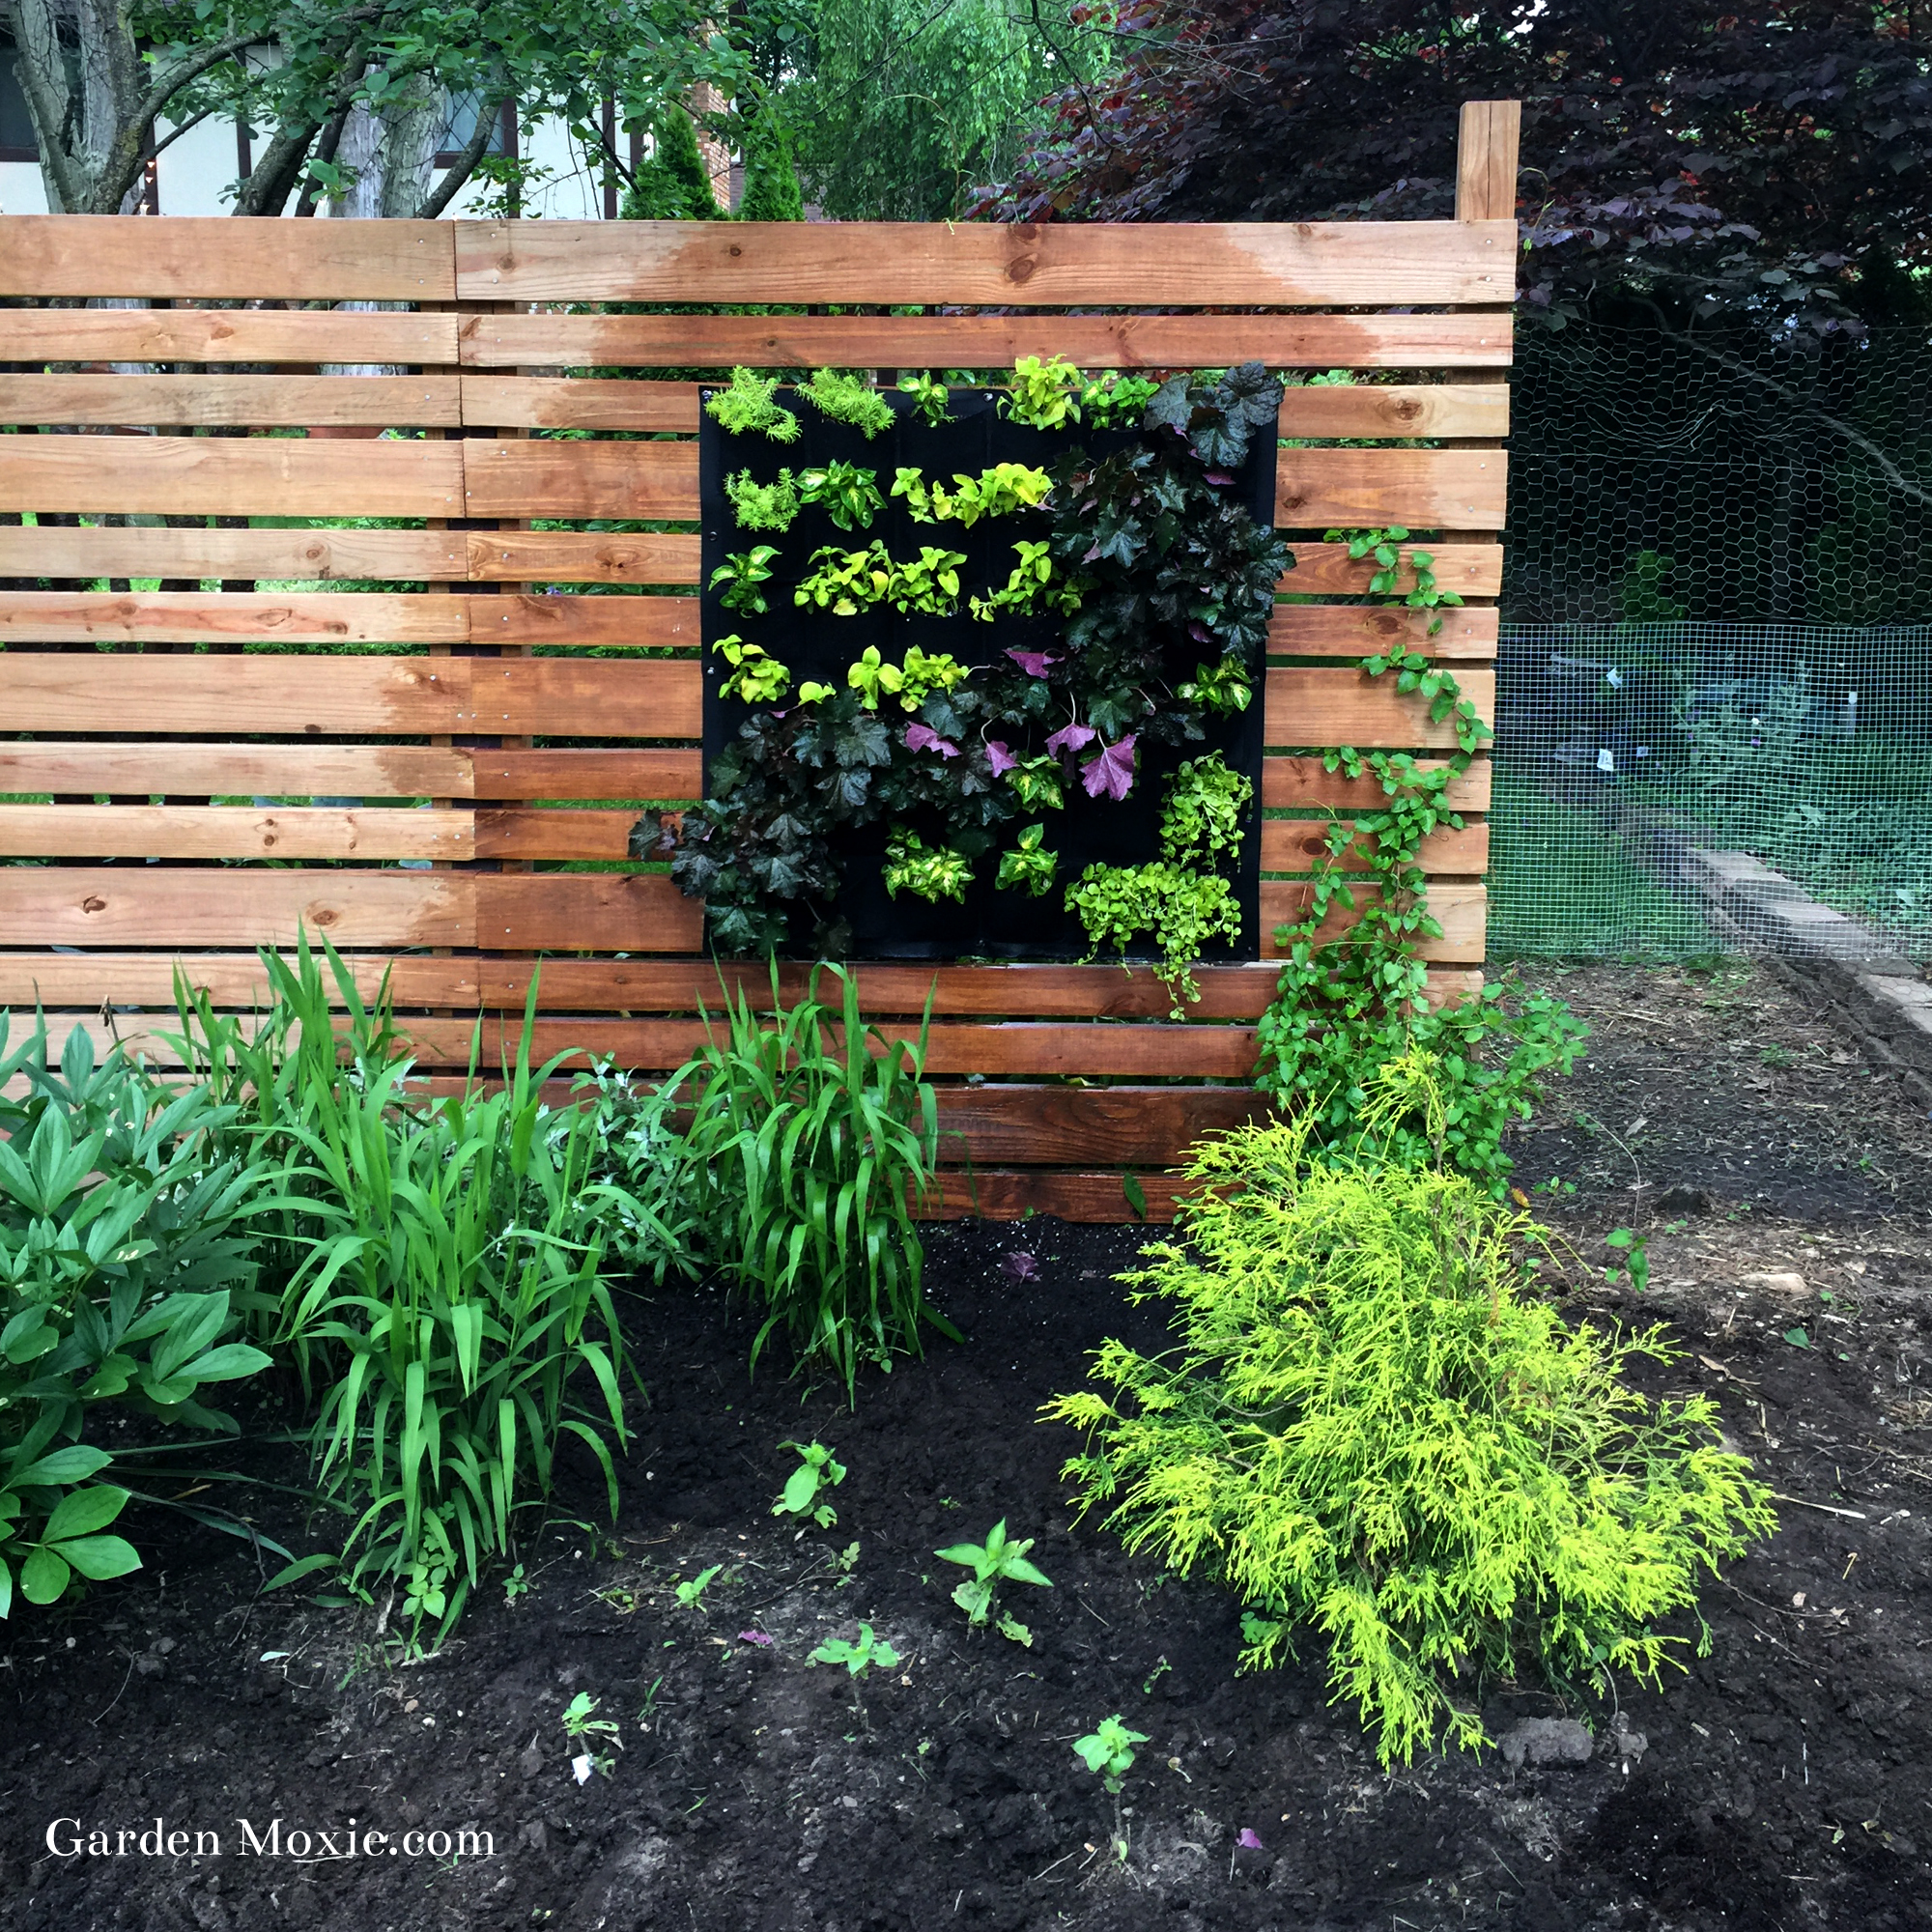
Creating the Border
The border is a simple rectangle measuring 6 feet deep by 150 feet long. The border extends the entire length of the fence. We used string lines to dig a straight border edge with a shovel.
Once the edges were set, we cleared out the weeds and unwanted plant material. The previous garden was overrun with daylilies and ribbon grass. Both considered too aggressive for a low maintenance garden.
We kept a small section of daylilies, but most were removed. We spread the compost into the new border and tilled it into the soil. We covered the existing border with roughly 3-4 inches of compost.
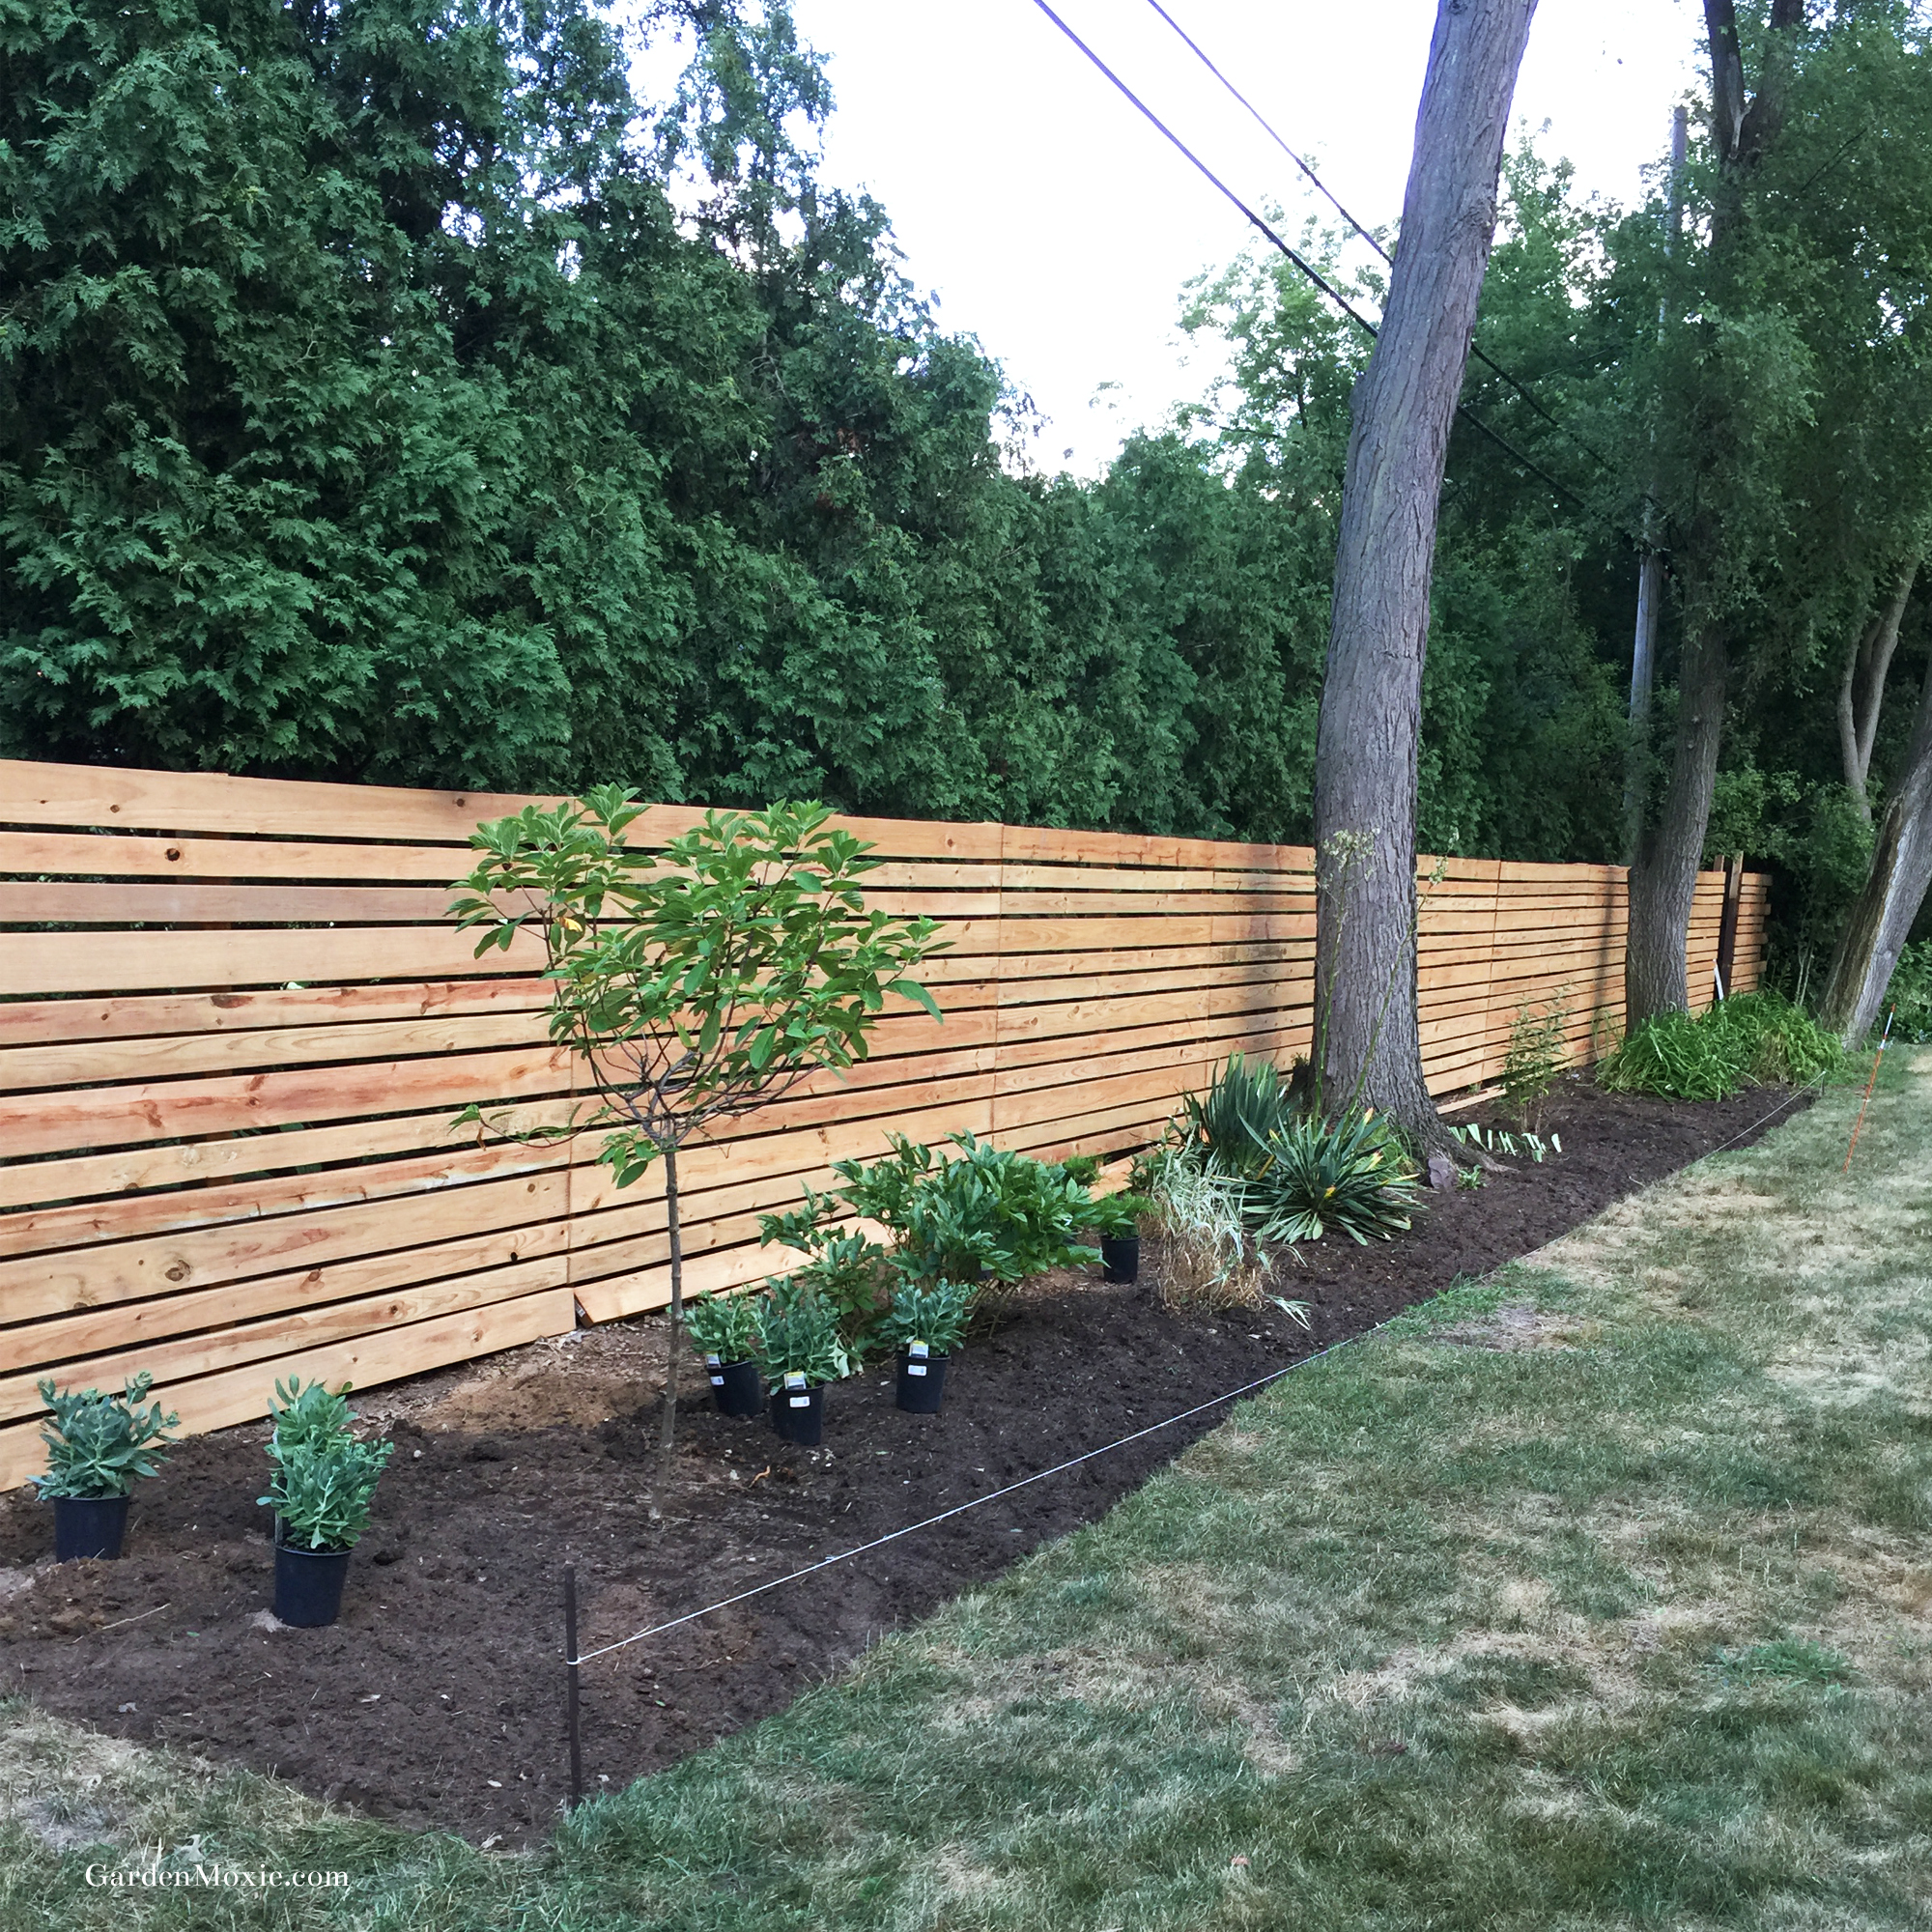
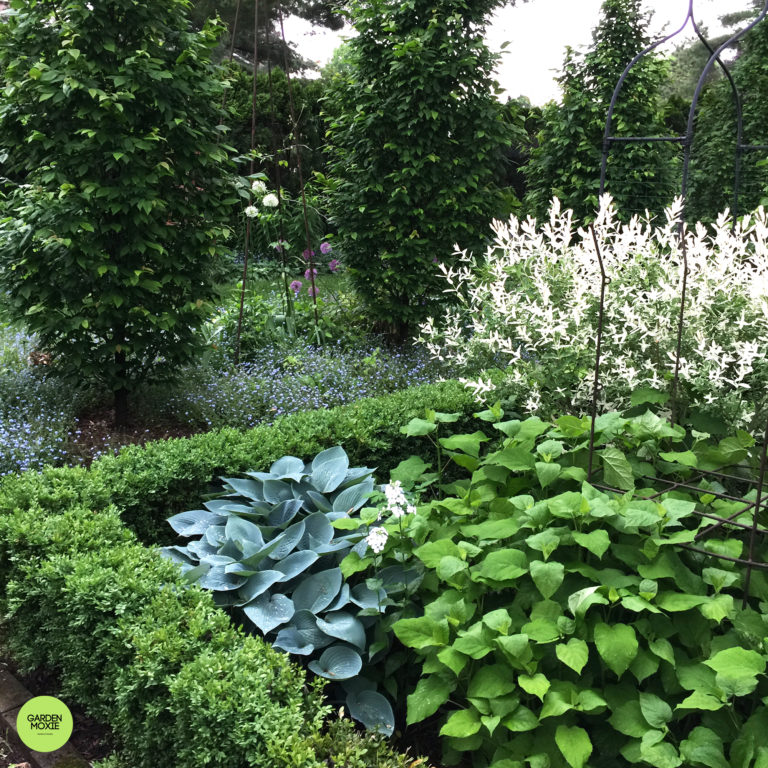
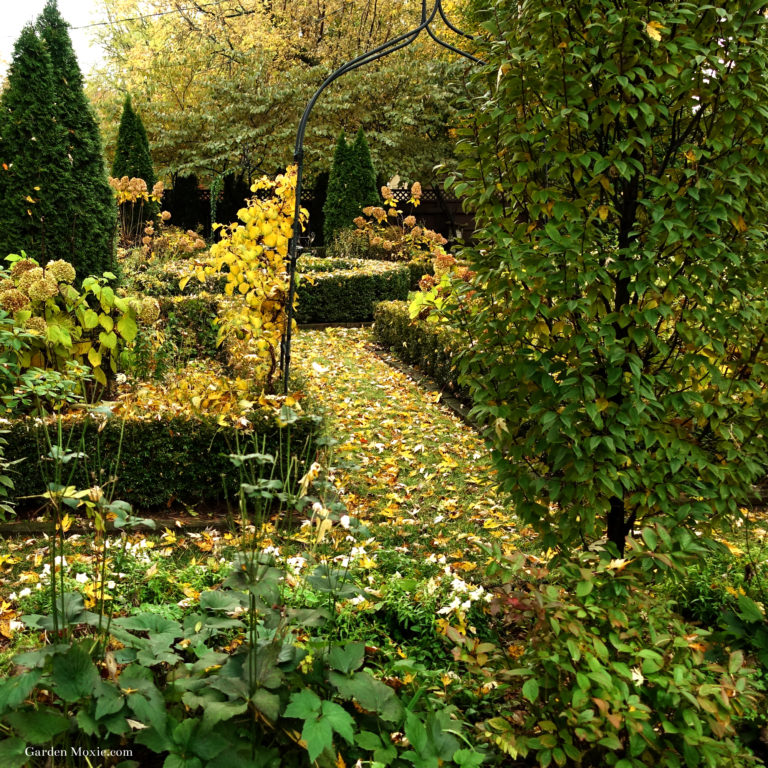
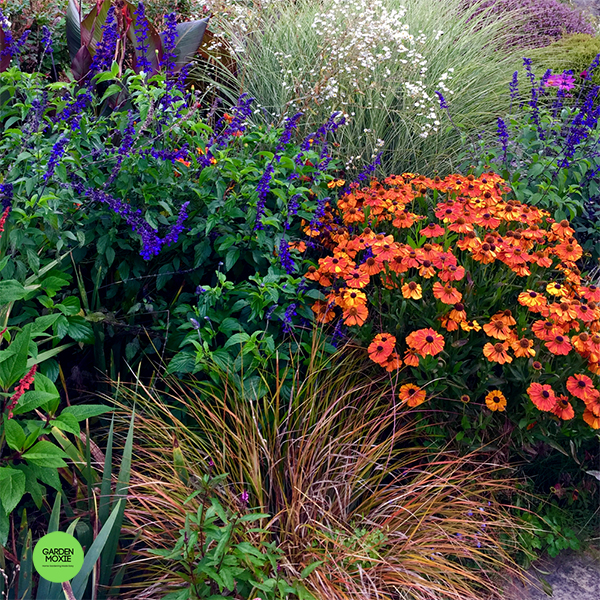
The Perennial Border Today
It’s been a year since we started the perennial border. The new plants are growing well and it looks like a garden. We have plans to add more structure to the border with tall evergreens and grasses. It’s a fun project and I’m looking forward to watching the plants grow.
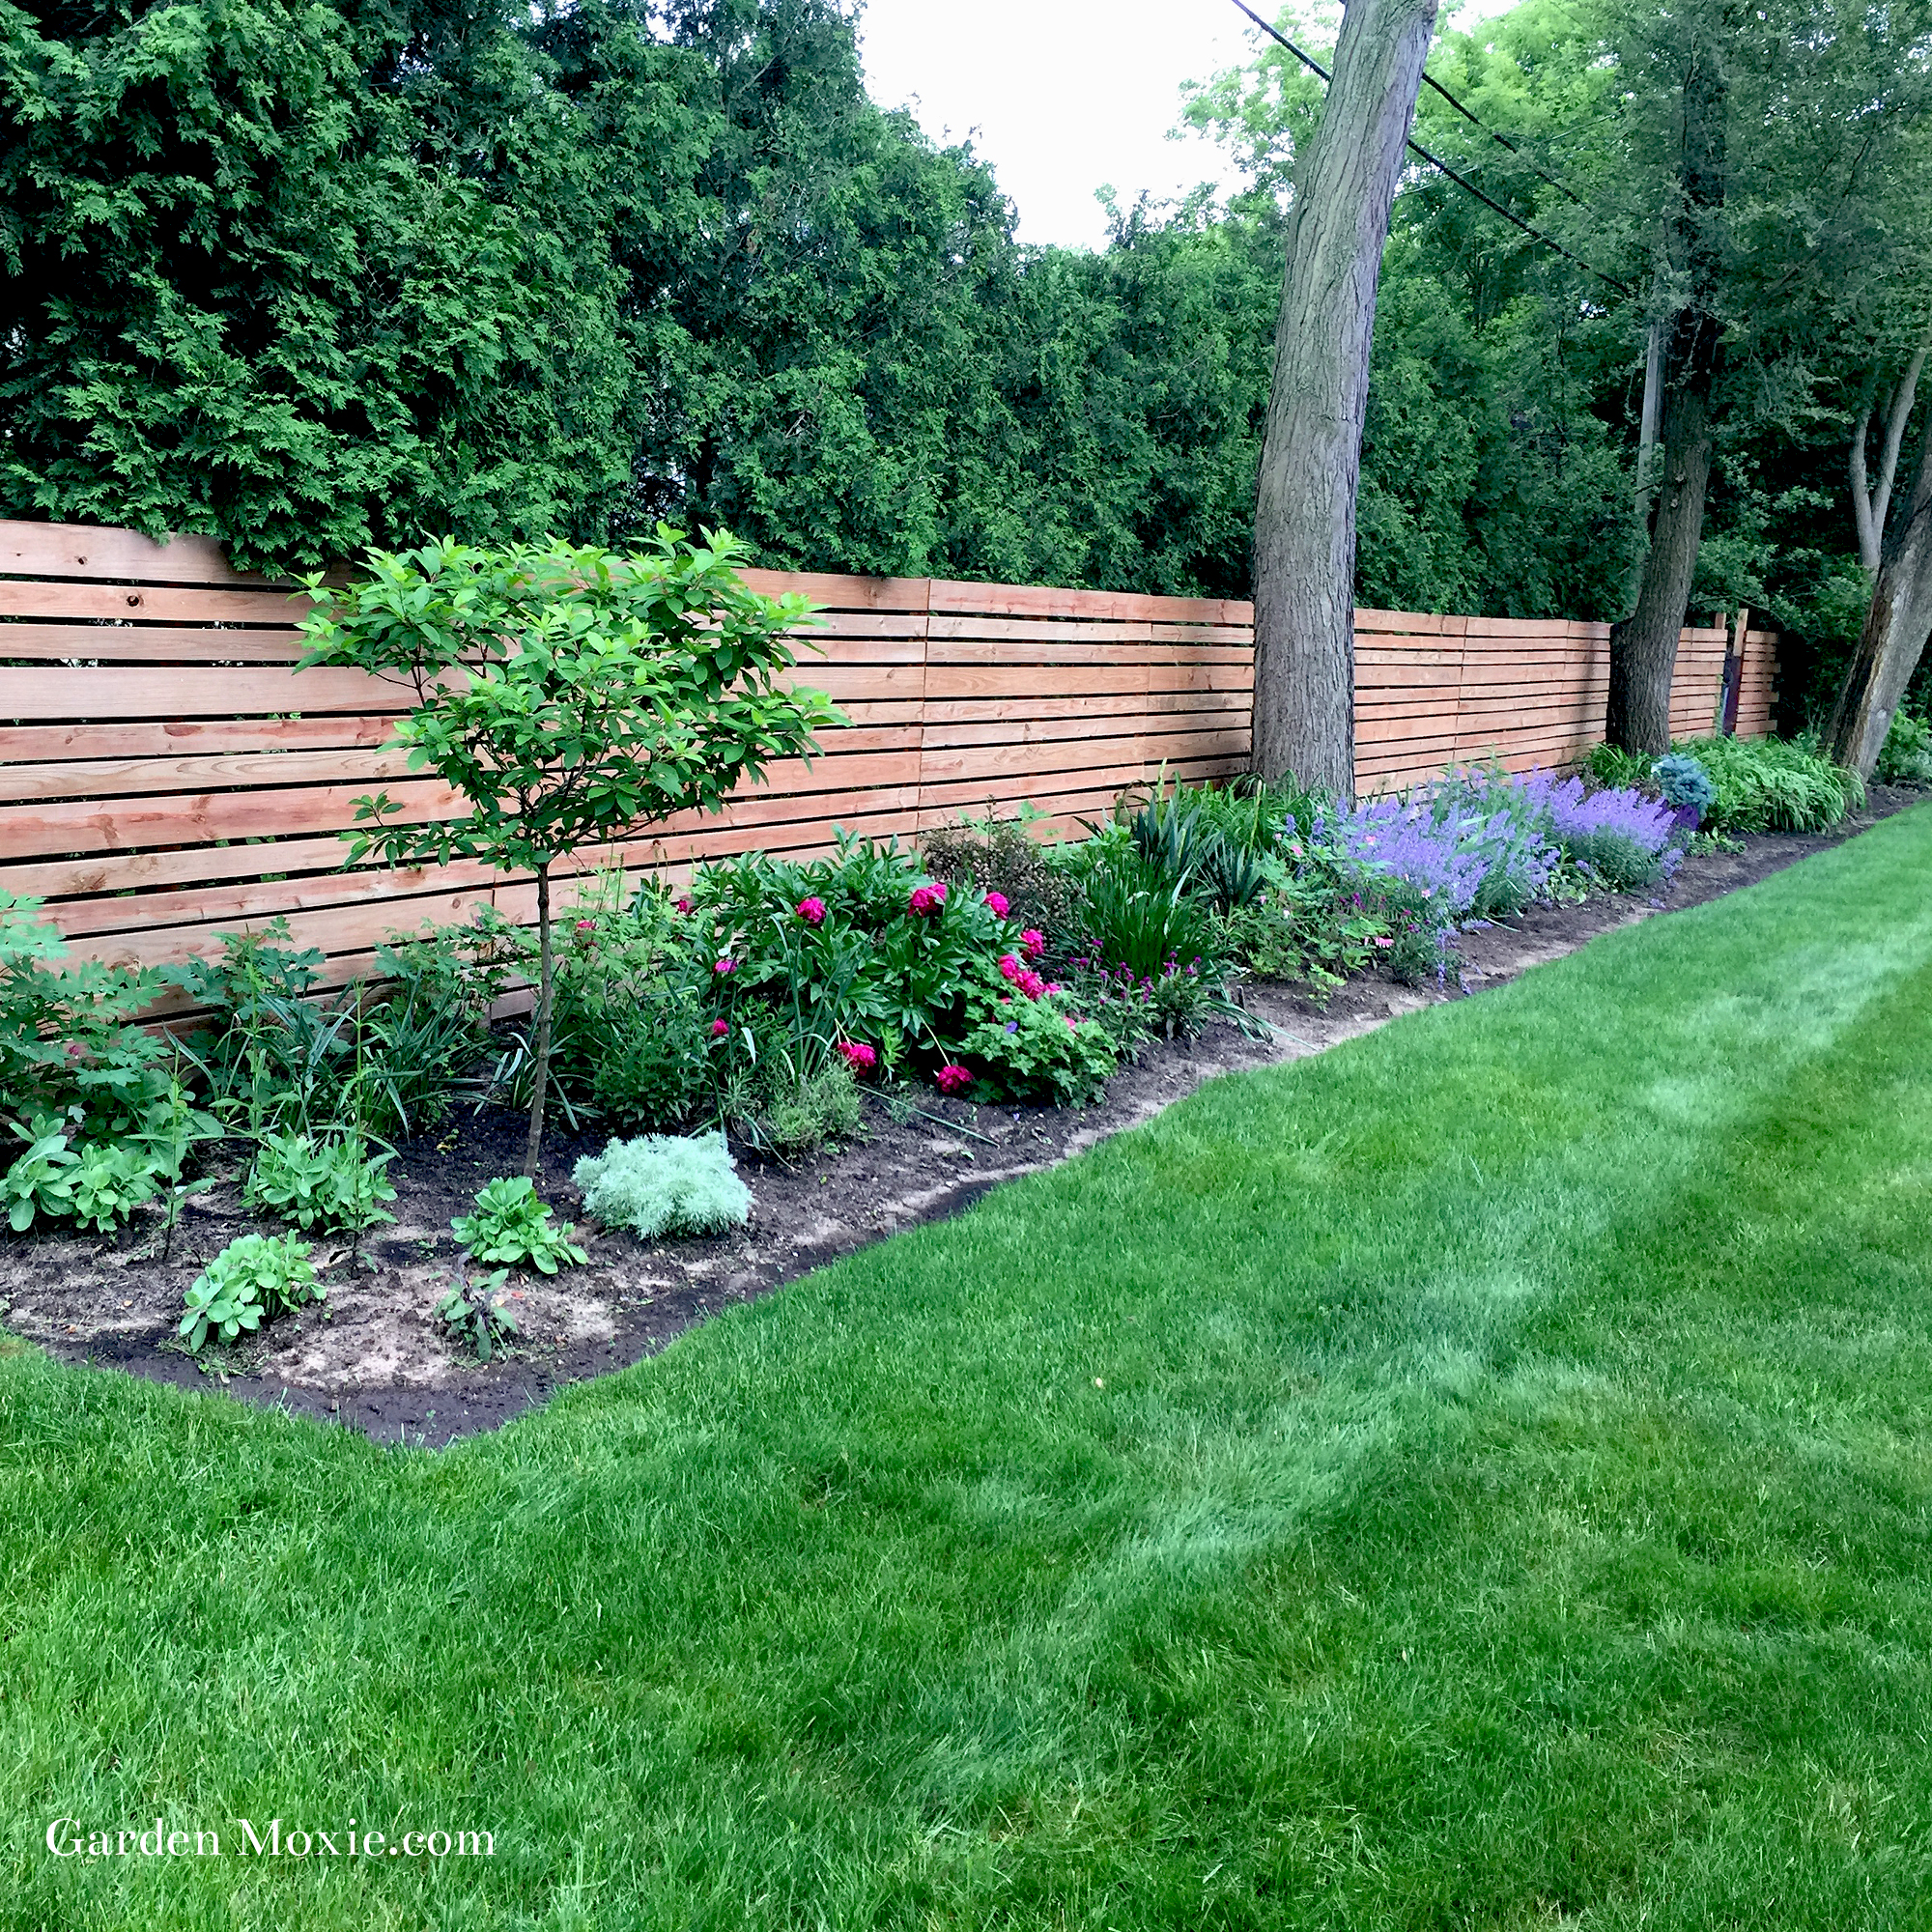
It’s going to be a blast filling up this garden and watching it grow through the years. Thanks for following along.