Seed Starting 101 – The Absolute Basics
This time of year I’ve got one thing on my mind. Seed starting.
I’m pretty much done with Winter and cold weather by February and early March. All I want to do is feel the sunshine on my head and get my hands dirty. That’s why seed starting is the perfect activity.
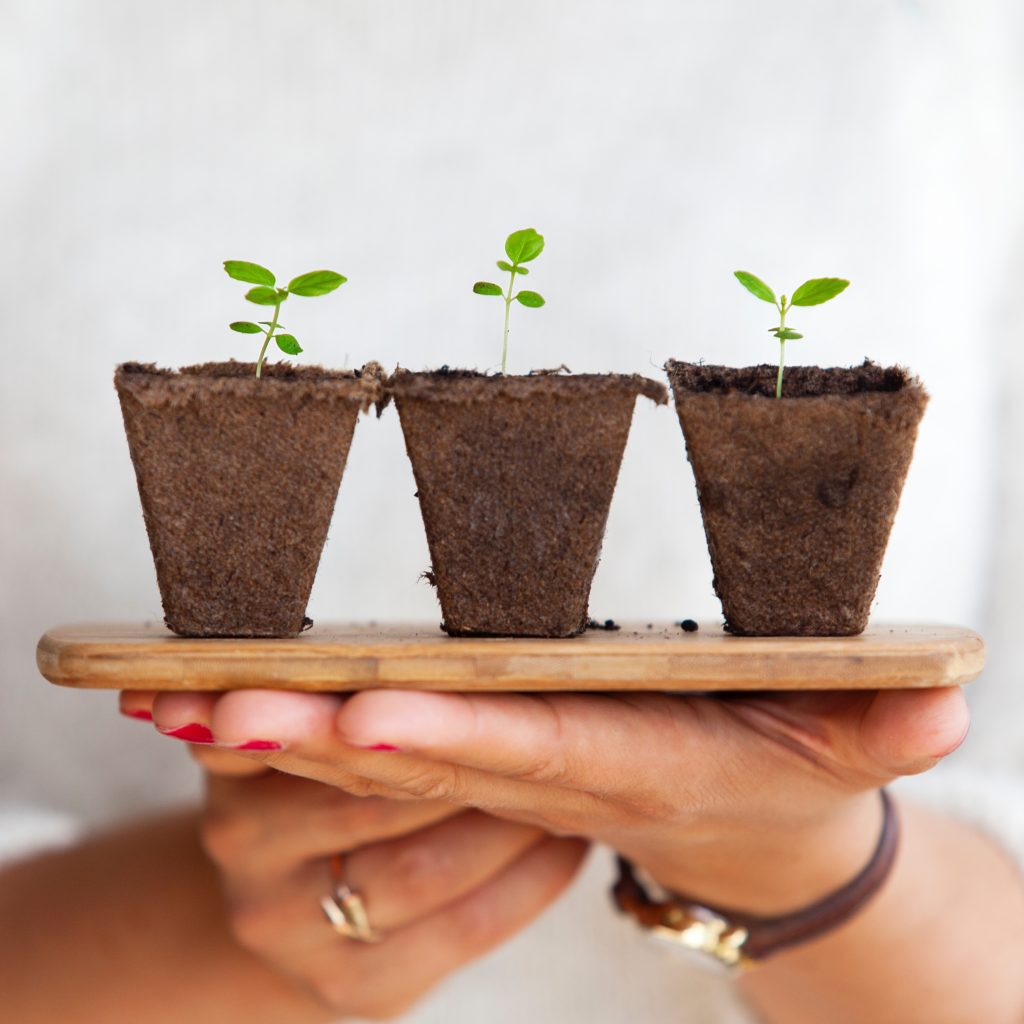
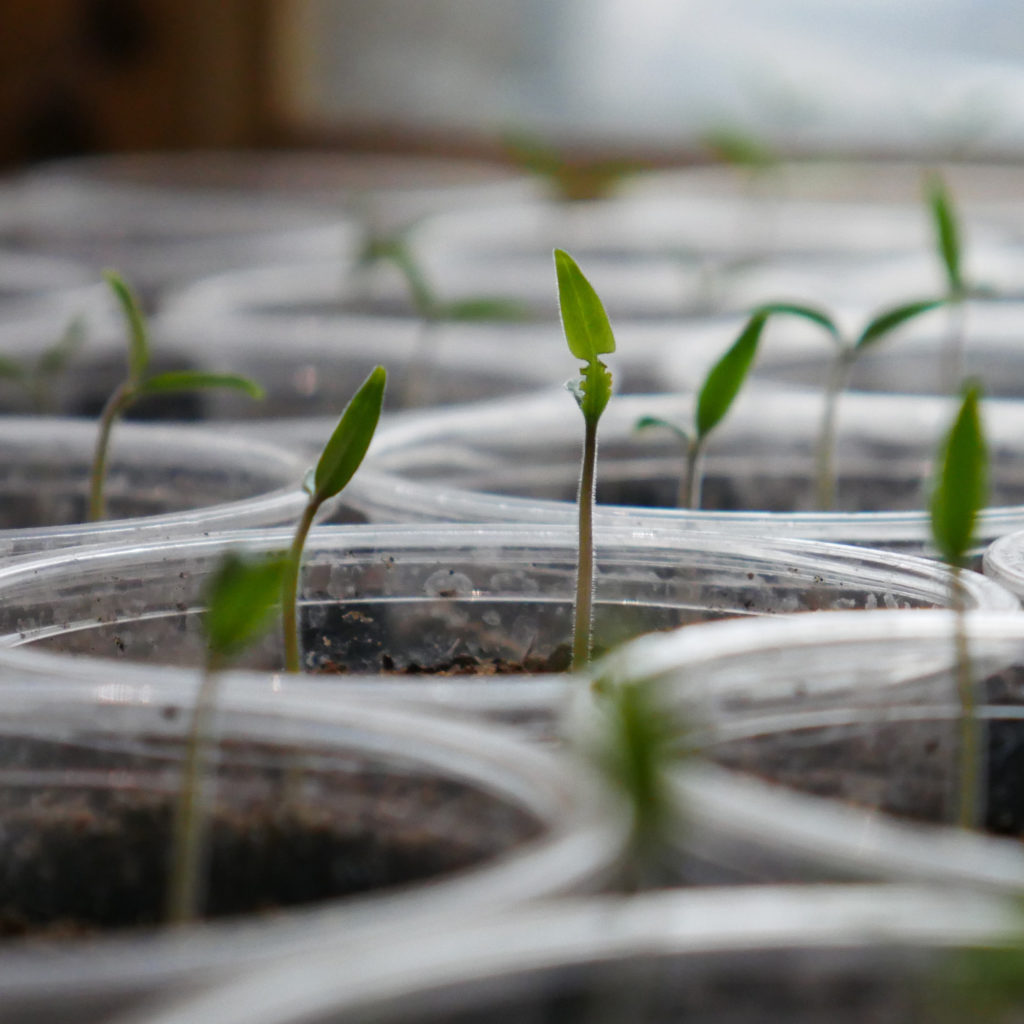
Starting seeds inside in preparation for the growing season helps me keep my sanity while I wait for the garden season. Growing plants from seeds are really rewarding and I never get tired of watching seedlings poke their heads through the soil and grow.
You don’t need a lot of fancy equipment to grow plants from seeds. I don’t have a greenhouse or expensive LED lights or a fancy grow system. All I do is set up some fluorescent shop lights in the basement and I’m set.
What you need to start plants from seeds:
- Seeds
- Fluorescent lights
- A timer to ensure you provide 16 hours of light
- Seed starting soil mix
- Plant trays
- Germination mat (optional)
- Clear plastic dome covers for plant trays
- Plant tags
- Oscillating fan
Where to Buy Seeds
You can buy seeds online or from a local store. Even local grocery stores carry seeds in Springtime. Some of my favorite seed sources are:
Read the Seed Labels to Learn What Seeds Need to Thrive
All the information you need to know about a seed will be listed on the seed package.
- Where the seed is from
- The germination rate (what percentage of the seeds planted are expected to germinate)
- Details about the plant itself (height, light requirements, how much space it needs between other plants)
- Number of days until the seed becomes a mature plant
- How many weeks before the last frost should you start seeds indoors (don’t start them too early)
Fluorescent Lights or LED Lights
To ensure your seeds grow, you want to provide full-spectrum light. What that means is that if you are using old-fashioned fluorescent shop lights, you want to buy one bulb that is “cool” and one bulb that is “warm”. This refers to the color temperature of the light coming off the bulb. If you have one cool and one warm bulb, you are providing light across a wider color spectrum. In other words, you are creating light more like outdoors.
There are a few important things to remember when using fluorescent lights:
- Keep the top of the bulbs within a few inches of the top of your plants.
- Use a timer on your lights to ensure you provide 16 hours of light each day.
Other Seed Growing Things to Consider
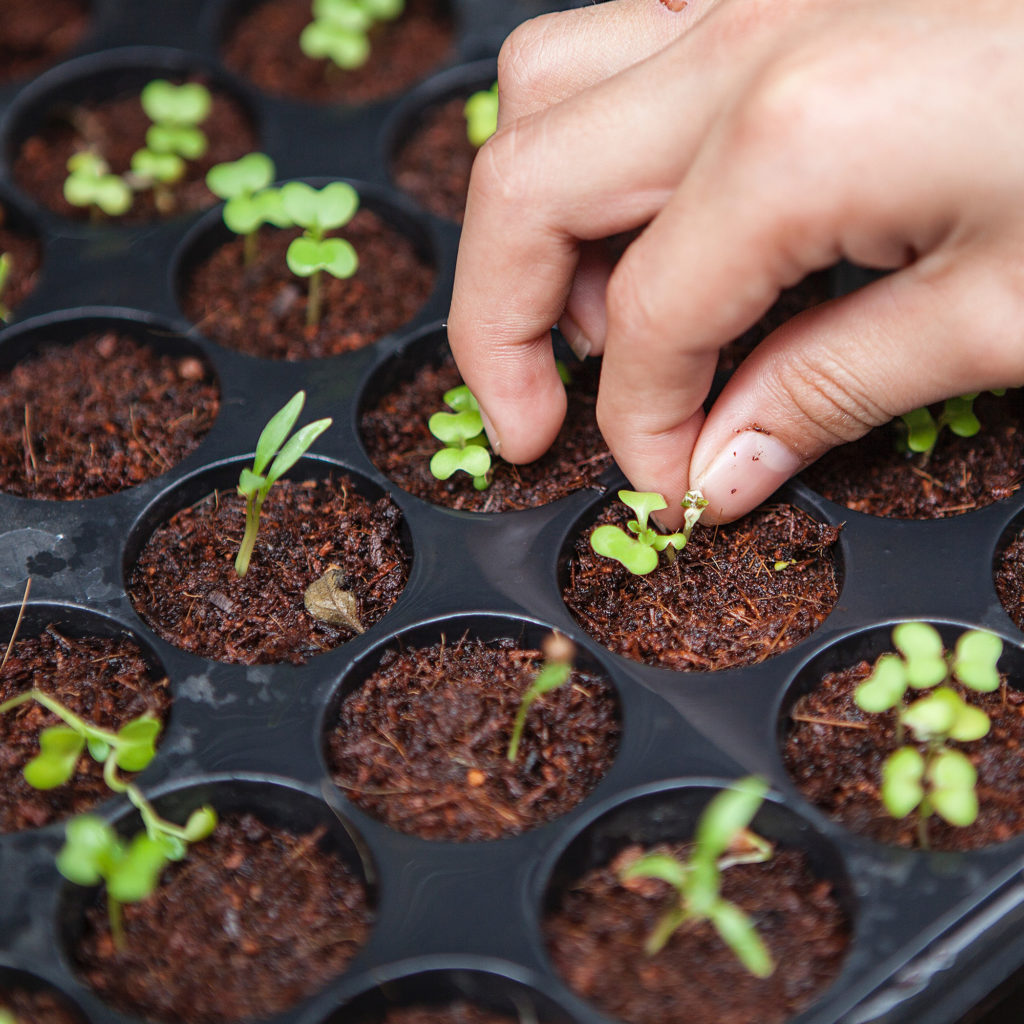
- Use a seed starting mix to grow your seeds and water the mix BEFORE you add the soil to your trays.
- Watering before planting the seeds will ensure you don’t wash the seeds away when you water.
- Read your seed package to know how deep to plant your seeds.
- Make sure you keep the soil moist once seeds start to grow and water from the bottom for the best results.
- Seeds need a warm, humid environment to germinate so place your trays on a germination mat and cover them with a plastic cover.
- Remove the plastic cover and germination mat as soon as your seeds germinate.
- Label your seed trays so you can keep track of which plants are which once they start growing (some seedlings look surprisingly alike).
- Once your seedlings start to grow, be sure to keep moving the lights up so they don’t touch the leaves of the plants.
- If you have several plants growing in the same pot, thin out the seedlings so there are 1-2 plants per tray.
- Set up an oscillating fan to blow across your seedlings once they start to grow. This ensures good air circulation and strengthens their stems.
Know When to Start Your Seeds
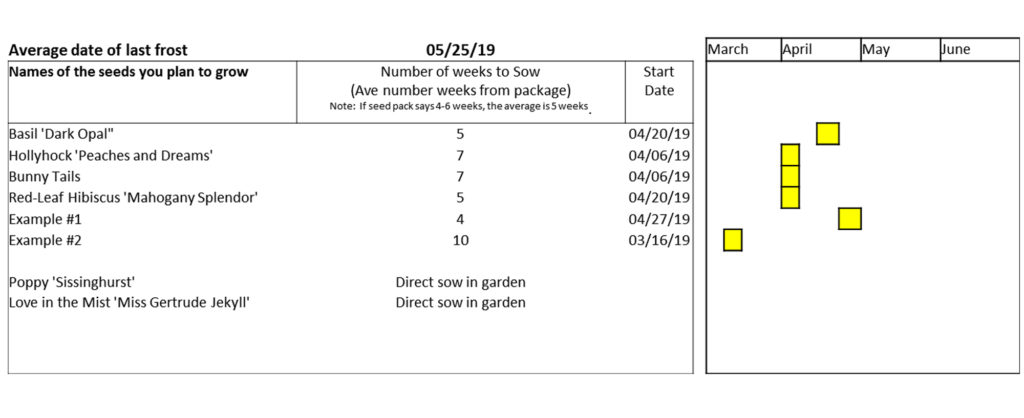
Don’t start your seeds too early. This is where the seed label comes in handy. Every seed label will tell you how many weeks before the last frost you should start your seeds. Don’t start planting your seeds before that date or you risk having weak, unhealthy plants. Plants cannot grow under fluorescent lights forever. They need to move outside to grow well.
I created a spreadsheet that uses my last average frost date (May 25th for my Zone 5 garden) and calculates when I need to start seeds based on the average time I should plant before the last frost.
The spreadsheet will calculate my start date and I know I don’t want to start growing that seed until that start date to get the best results.
Hardening Off Your Seedlings
The last step you need to take before your seedlings are ready to plant out into the garden is to harden them off. What that means is that once the threat of frost is gone, and the outside temperatures and weather are ready to plant, you want to set your plants outside a little at a time for a few days to get them used to be outside. This will help the new plants adjust to the sun, temperature, and wind.
The idea is simply to “ease” your new plants into being outside. Growing plants inside, under lights, is not the same as plants growing in sunlight. You need to let the plants get used to the bright light. This adjustment period is called “hardening off” your seedlings. Be kind to your seedlings and they will reward you by growing into amazing garden plants you’ll enjoy all season long.
If you enjoyed this article, join a thriving community of home gardeners. Sign up for the Garden Moxie newsletter. Whether you are a seasoned pro or just starting your first garden, you’ll find tips, inspiration, and fun. I invite you to join.

